21 Tiny Kitchen Ideas That Make Every Inch Count
A tiny kitchen tests a home cook’s patience daily — no counter space, nowhere for the chopping board, cabinets that swallow ingredients into the dark. But here is the encouraging truth: small kitchens respond to makeovers better than big ones, because every improvement touches everything. One bright change lifts the whole room.
This guide is a makeover, not a renovation. Almost everything here is paint, light, organization, and styling — most of it renter-friendly, nearly all of it weekend-sized. The goal is the trio in the title: bright (light bouncing everywhere), cozy (warm and personal, not clinical), and functional (a kitchen that actually works for cooking).
Work through it in the order given: clear and organize first (free), then color and light, then the storage upgrades, then the cozy styling that makes it yours.
In this guide
- First: Clear, Organize, and Make It Work
- Bright: Color & Light for Small Kitchens
- Cozy & Functional Finishing Touches
- More Tiny Kitchen Ideas That Earn Their Inch
- Tiny Kitchen Layouts: What Works Where
- The Tiny Pantry & Fridge: A System That Stays Tidy
- Cooking in a Tiny Kitchen: Workflow That Fits
- How to Recreate the Makeover in Order
- Budget Guide: Where to Save, Where to Spend
- Mistakes to Avoid
- Your Tiny Kitchen Checklist
- Frequently Asked Questions
First: Clear, Organize, and Make It Work
A tiny kitchen’s biggest problem is rarely size — it is that everything lives on the counters because nothing has a proper home. Fix the homes first.
1. Empty the Counters Down to Three Things
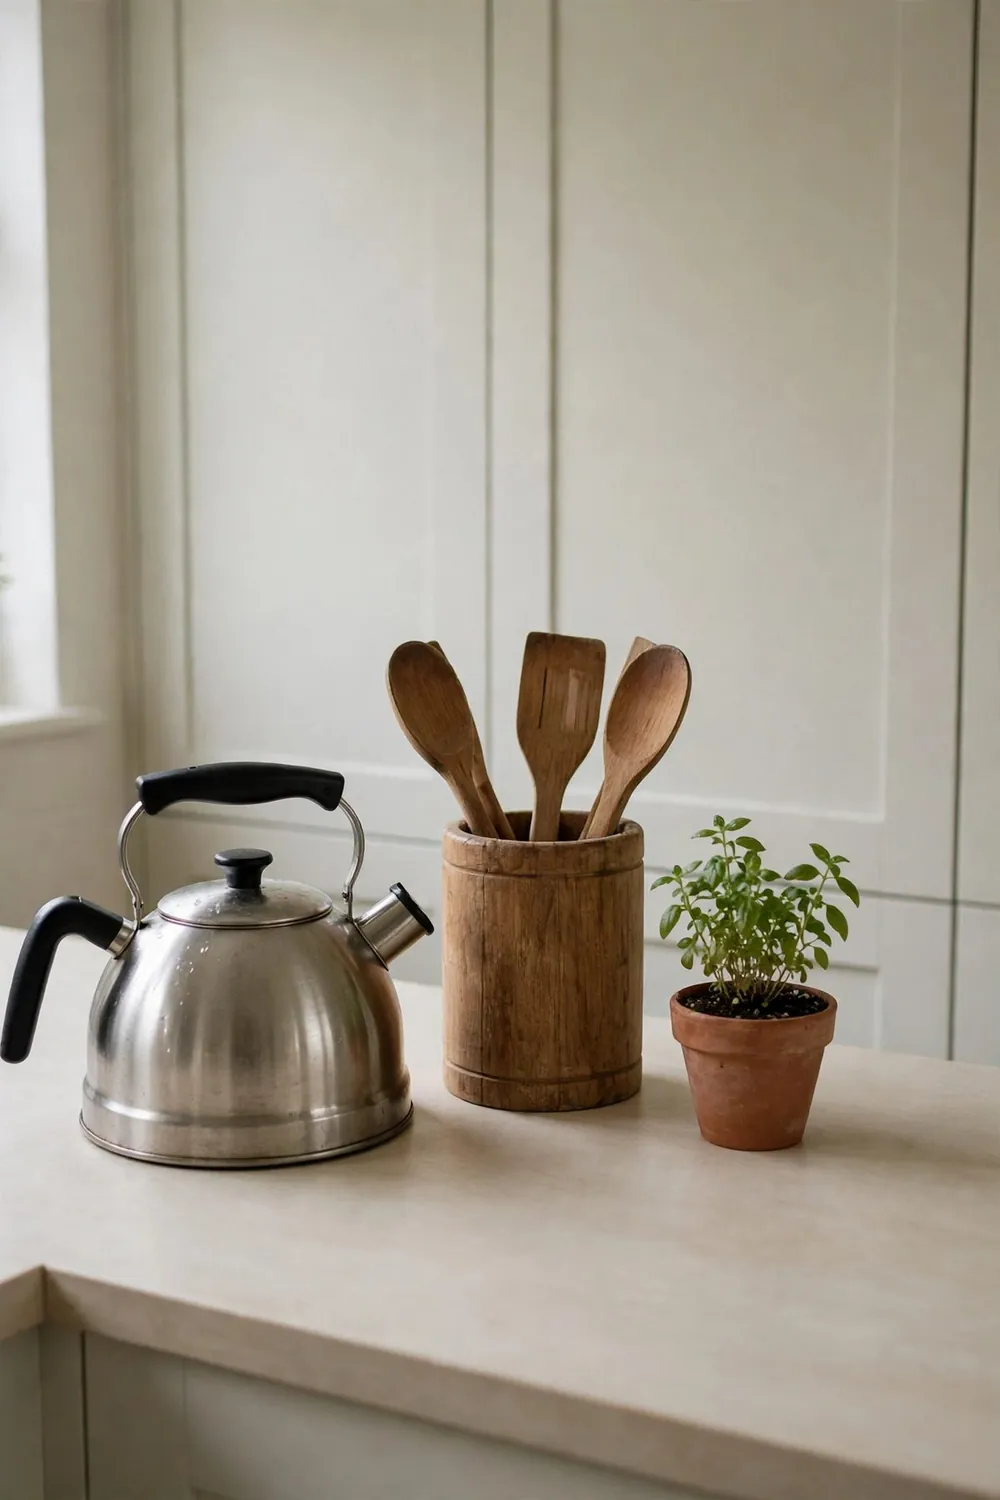
In a tiny kitchen, counter space is the scarcest resource you own. Keep out only what you use daily — for most homes that is the kettle or coffee maker, a knife block or strip, and one beautiful thing (a plant, a bowl of fruit). Everything else finds a cabinet, a shelf, a rail, or a new home outside the kitchen.
Cook on the cleared counter once and you will protect it fiercely forever. This is the makeover’s foundation; everything else is decoration on top of it.
2. Organize Cabinets Like a Shop, Not a Cupboard
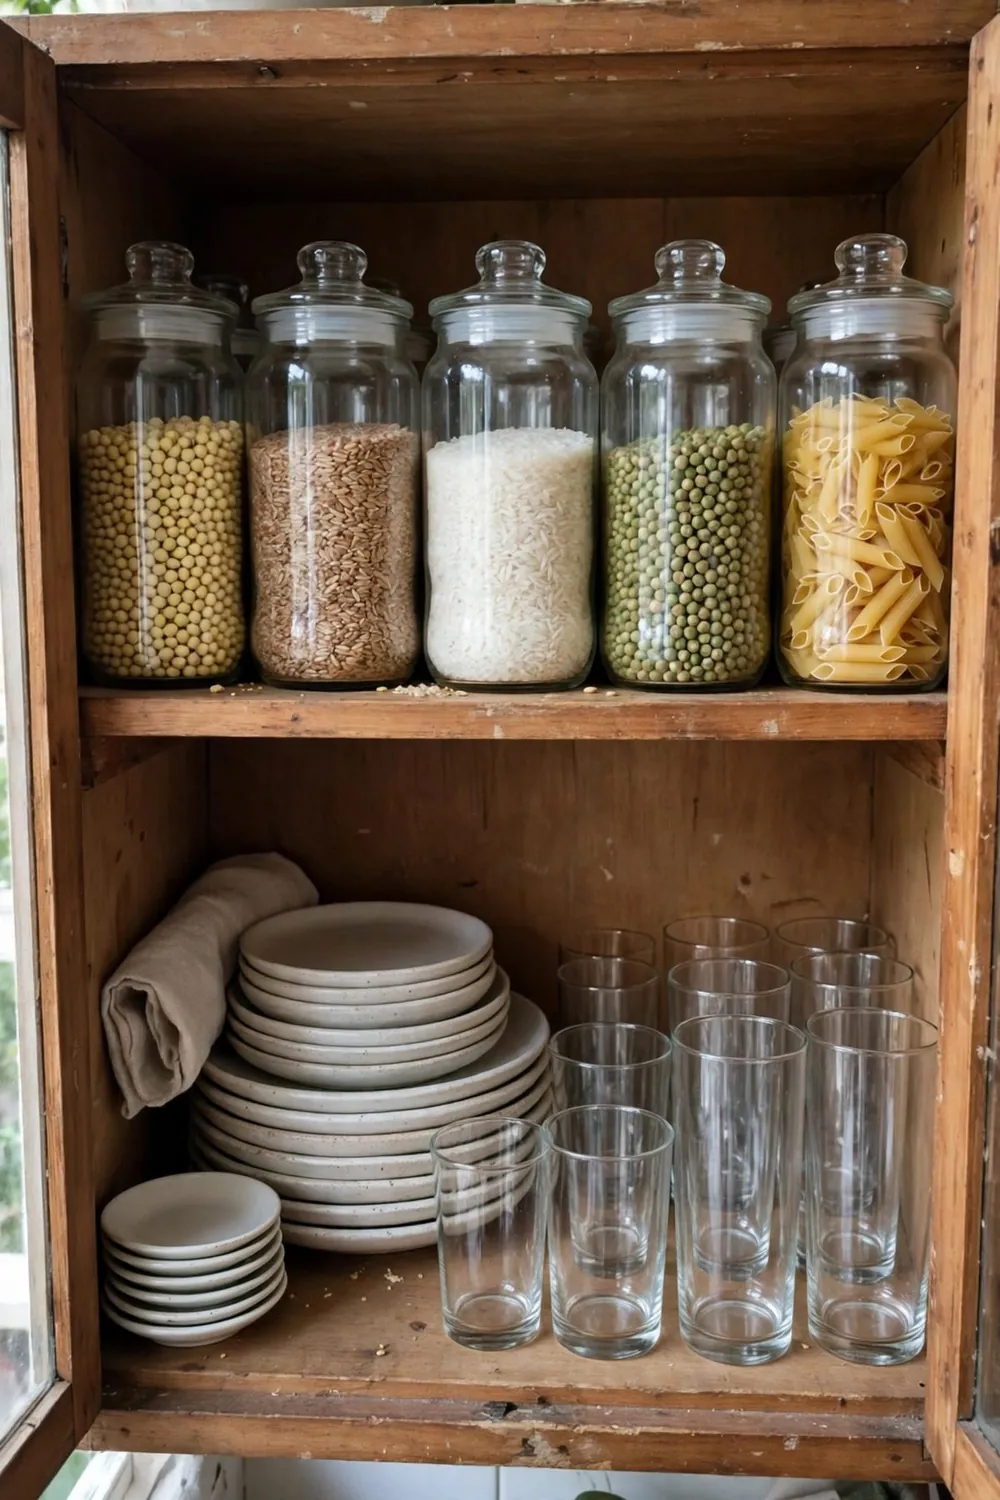
Small cabinets work when you can see everything: risers and small shelves inside cabinets double the layers, clear jars move ingredients out of half-empty boxes, and the most-used items live between waist and eye height. Heavy things low, rare things high, nothing lost at the back.
Add a lazy Susan or a simple tray in deep cabinets — the “pull-out tray” trick turns excavation into sliding.
3. Use the Walls: Rails, Pegs, and Magnetic Strips
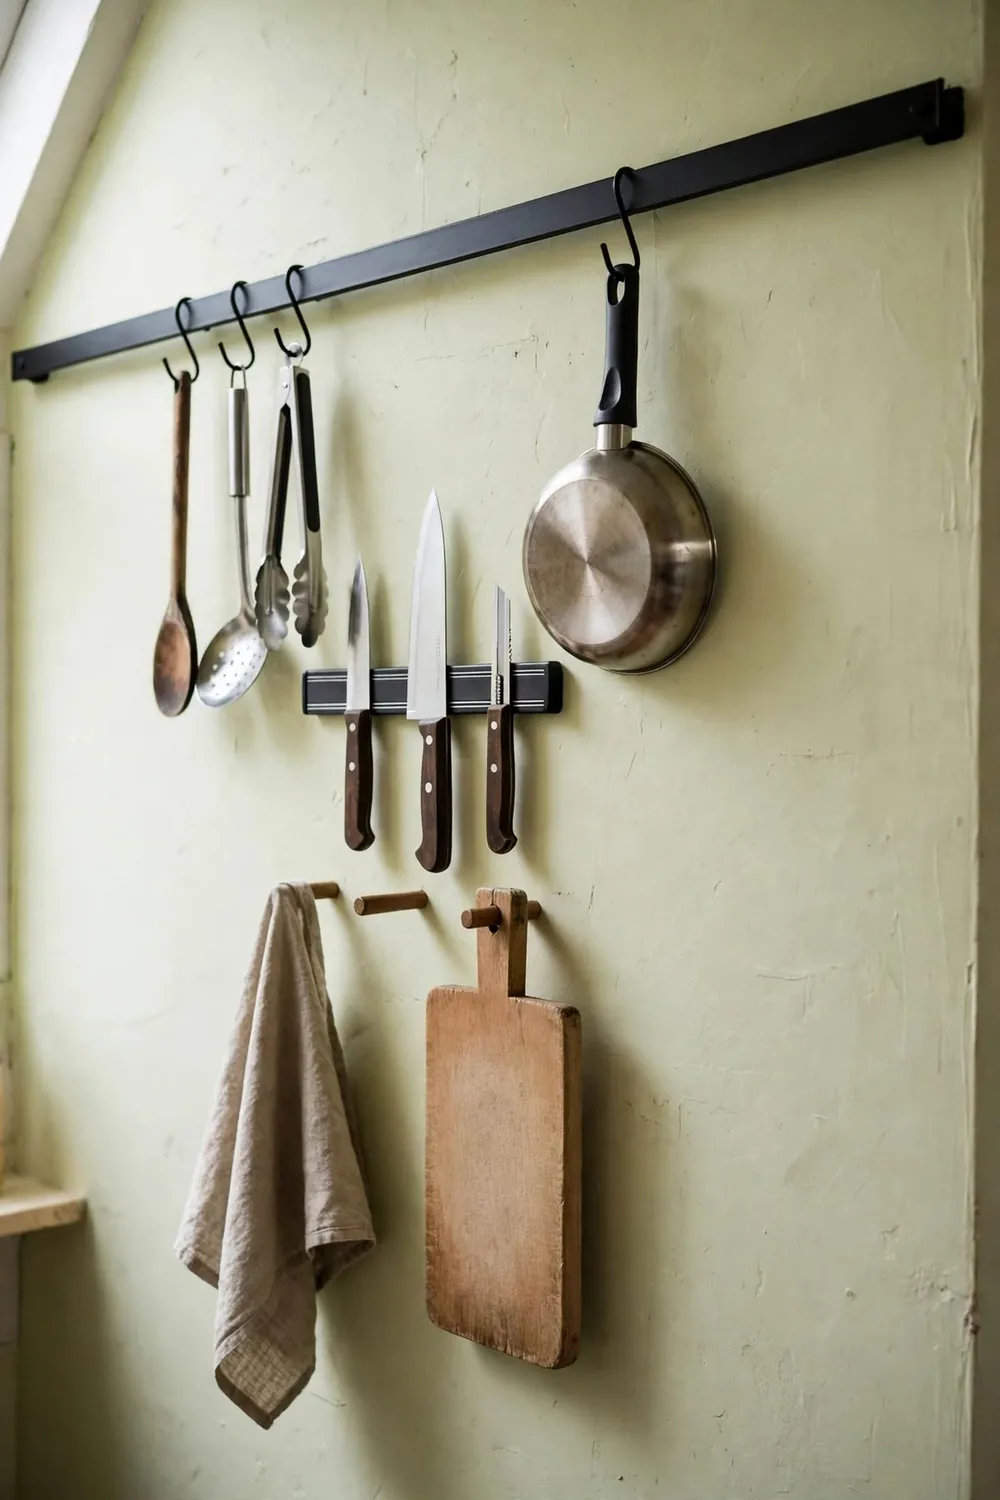
Wall space is free storage. A rail with hooks holds utensils, pans, and mugs; a magnetic strip holds knives safely out of drawers; a small pegboard holds measuring cups and tools where your hand expects them. Every item on the wall is an item off the counter.
Keep the wall arrangement tidy and grouped — a rail is a display, so curate it like one.
4. Claim the Forgotten Inches
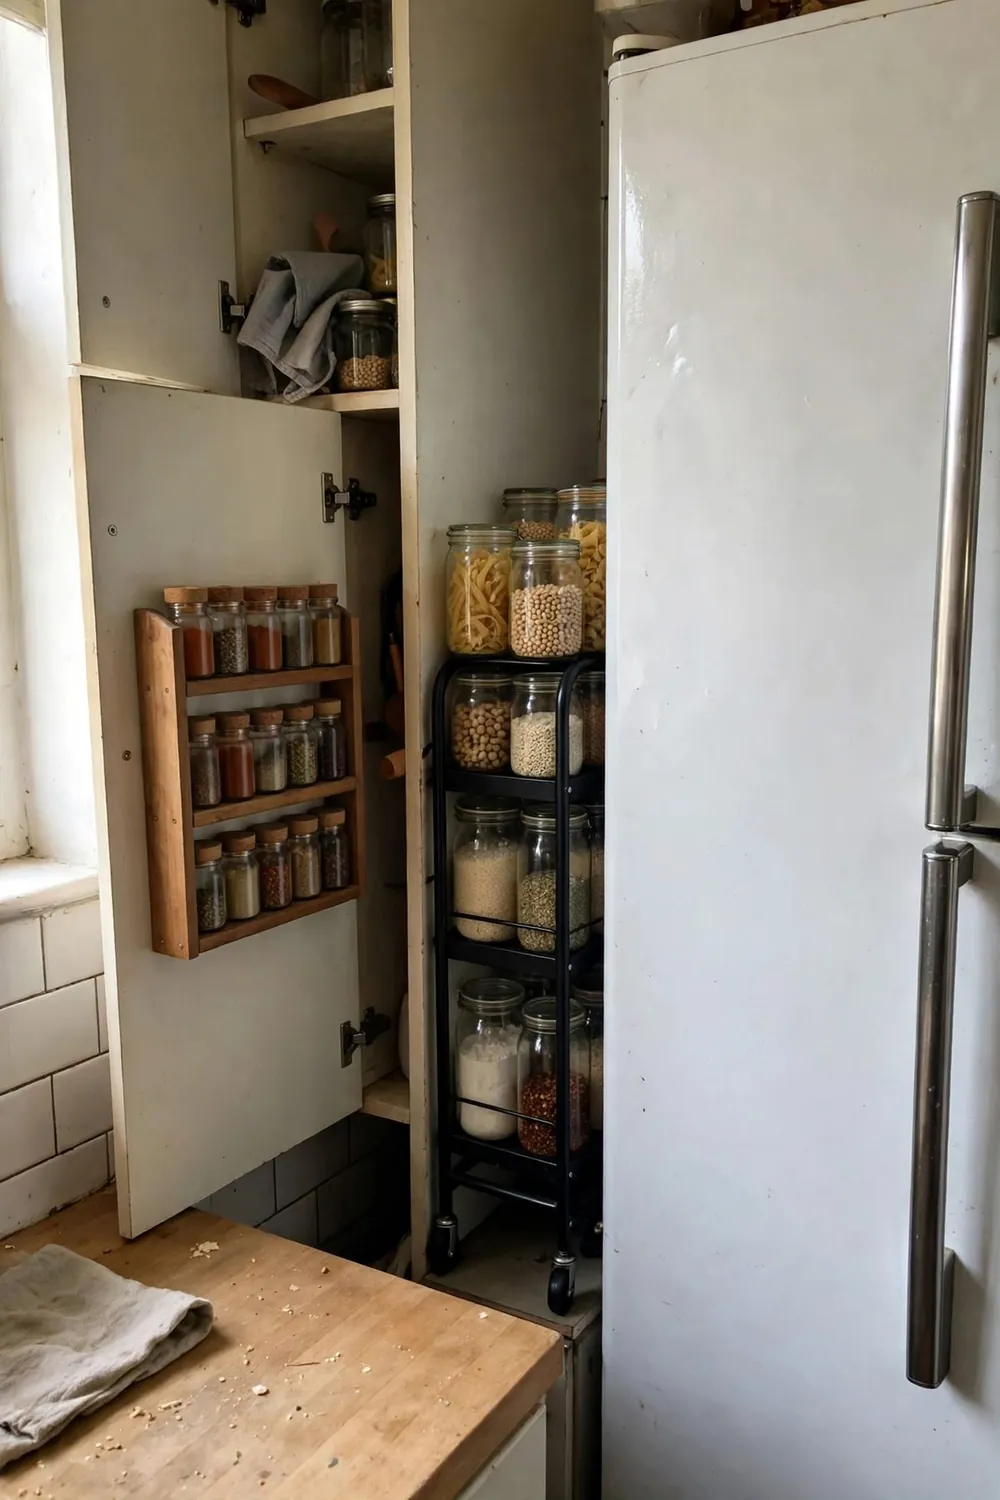
The inside of cabinet doors (hooks for lids and measuring spoons), the side of the fridge (a magnetic spice rack), the gap beside the oven (a slim rolling cart), above the cabinets (baskets for rare-use items, plus a trailing plant to soften it). Tiny kitchens are won in inches, and there are more claimable inches than you think.
Bright: Color & Light for Small Kitchens
With function fixed, brightness is the next transformation — small kitchens are often the darkest room in the home, and they do not have to be.
5. Paint Cabinets a Light, Warm Color
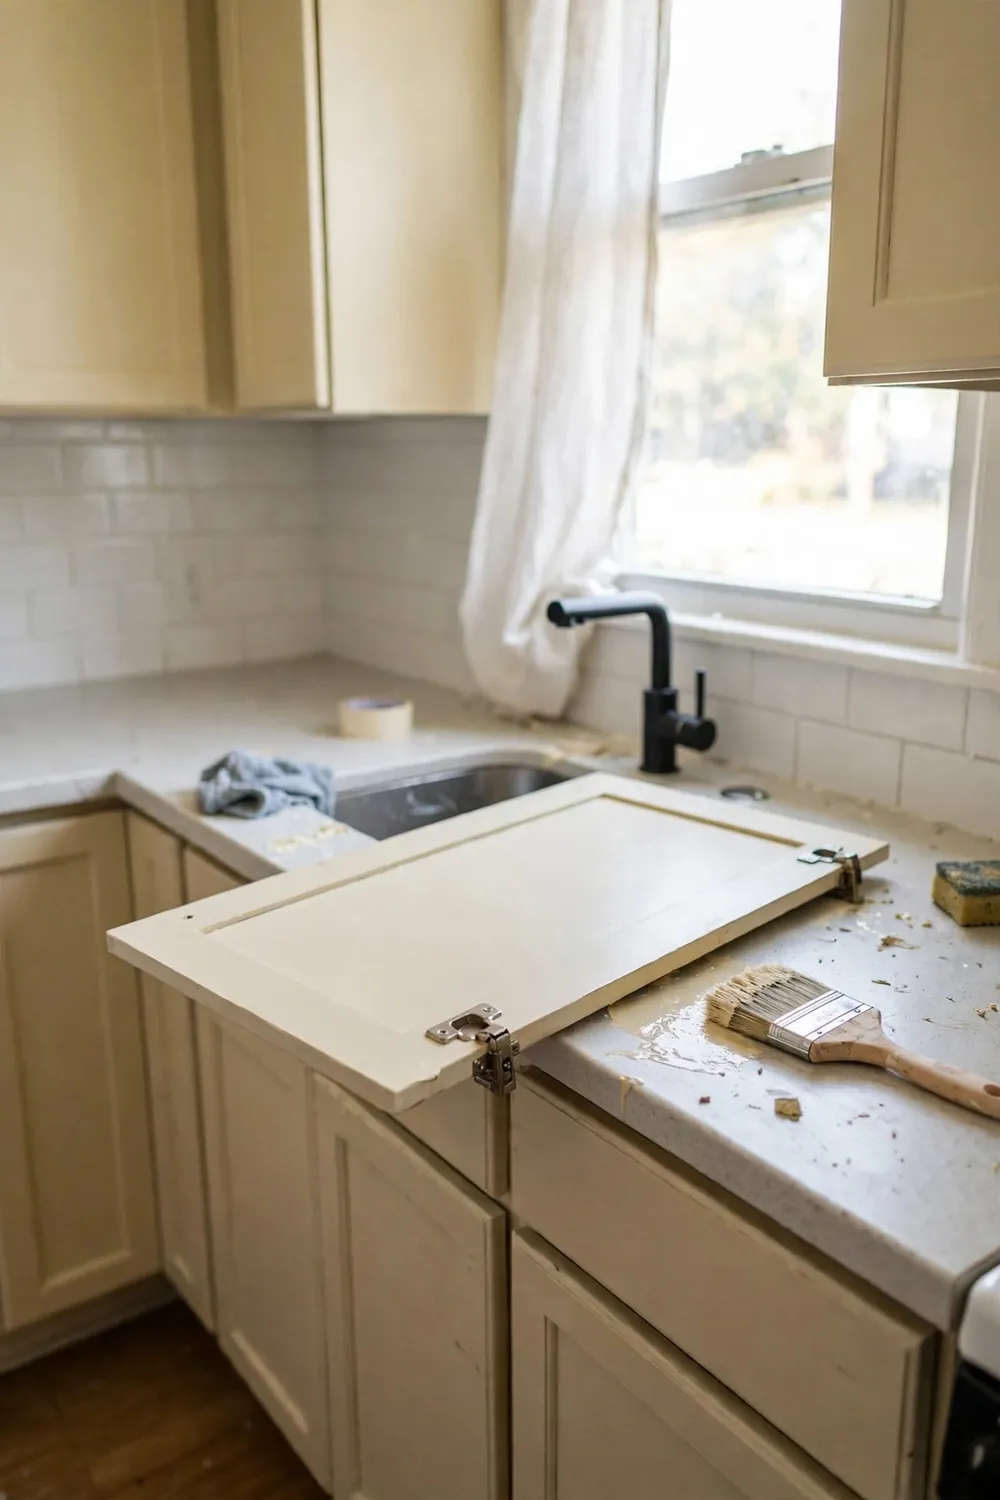
Painted cabinets are the tiny kitchen’s biggest makeover lever. Warm white, cream, soft sage, or pale greige on cabinets bounces light, modernizes dated wood or laminate, and costs a fraction of replacement. The formula: clean, degloss/sand, prime properly, two thin coats of cabinet paint, patience between coats.
If painting everything feels huge, paint only the uppers light and leave lowers a deeper shade (sage, dusty blue, warm grey) — the two-tone look is designed, forgiving, and very current.
6. Add Under-Cabinet Lighting
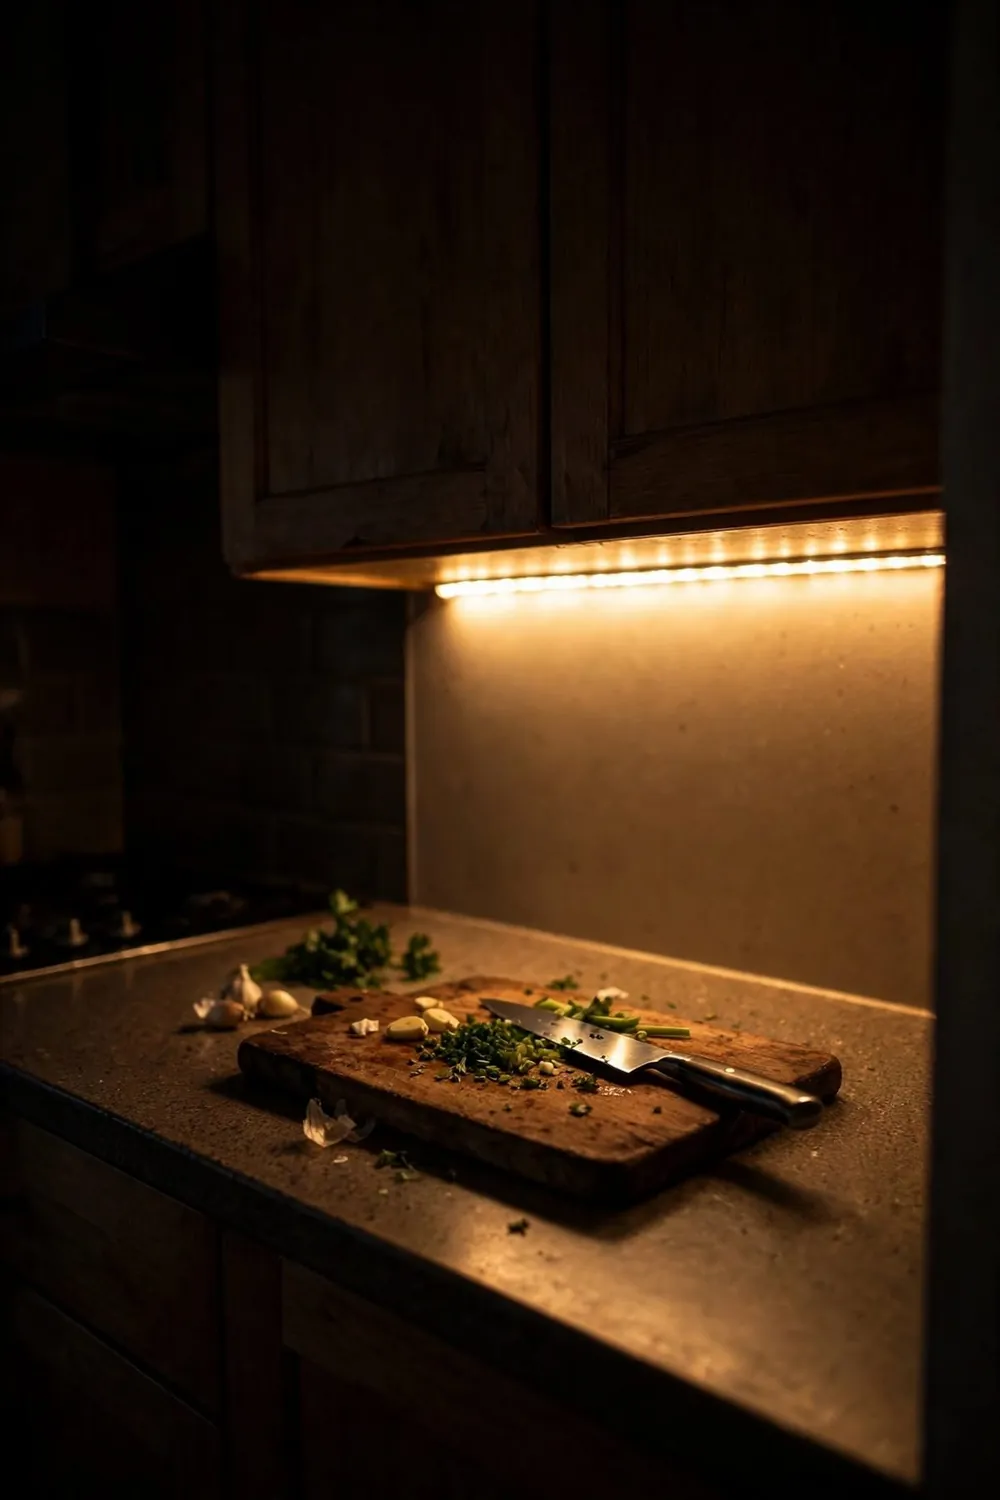
This is the single most functional-and-pretty upgrade in any kitchen, and in a small one it is transformative: counters lit, shadows gone, evening glow like a café. LED strips or puck lights install in an hour; battery and plug-in versions keep renters in the game.
Choose warm white (3000K is a good kitchen balance of warm and clear) and watch chopping become easier and the room become kinder at 7pm.
7. Choose a Light Backsplash (or Fake One Beautifully)
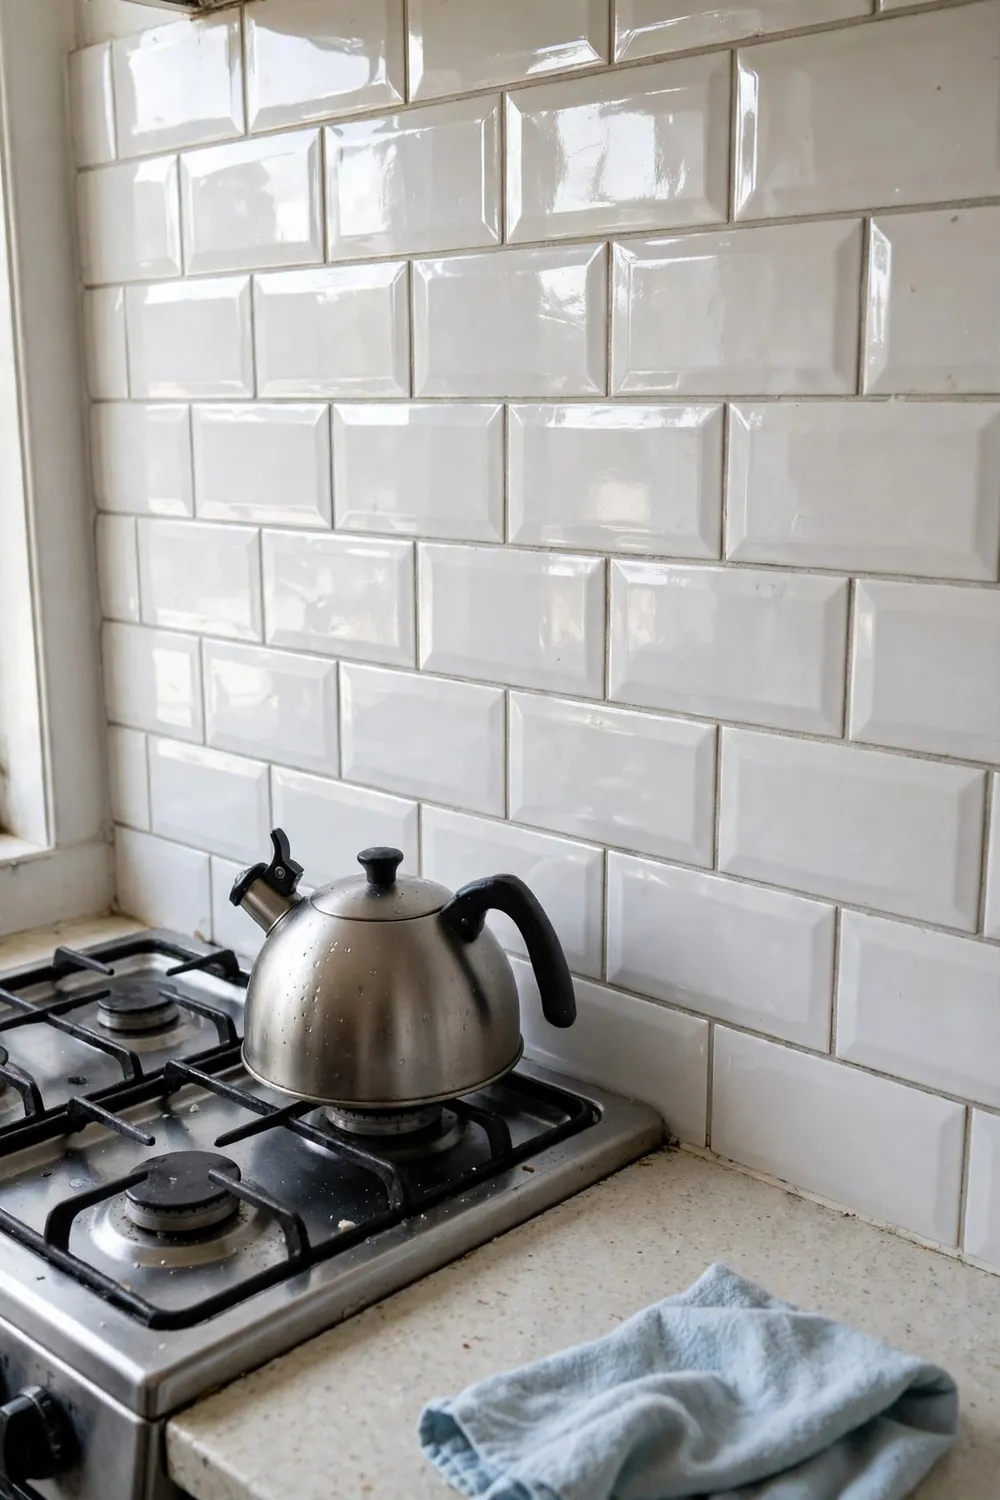
A pale backsplash carries light across the work zone. Real tile is a weekend job; peel-and-stick tile, beadboard panels, or even a washable pale paint with a satin finish give renters and beginners 90% of the effect. Keep grout lines light — dark grout in a small kitchen can read busy.
8. Let the Window Work
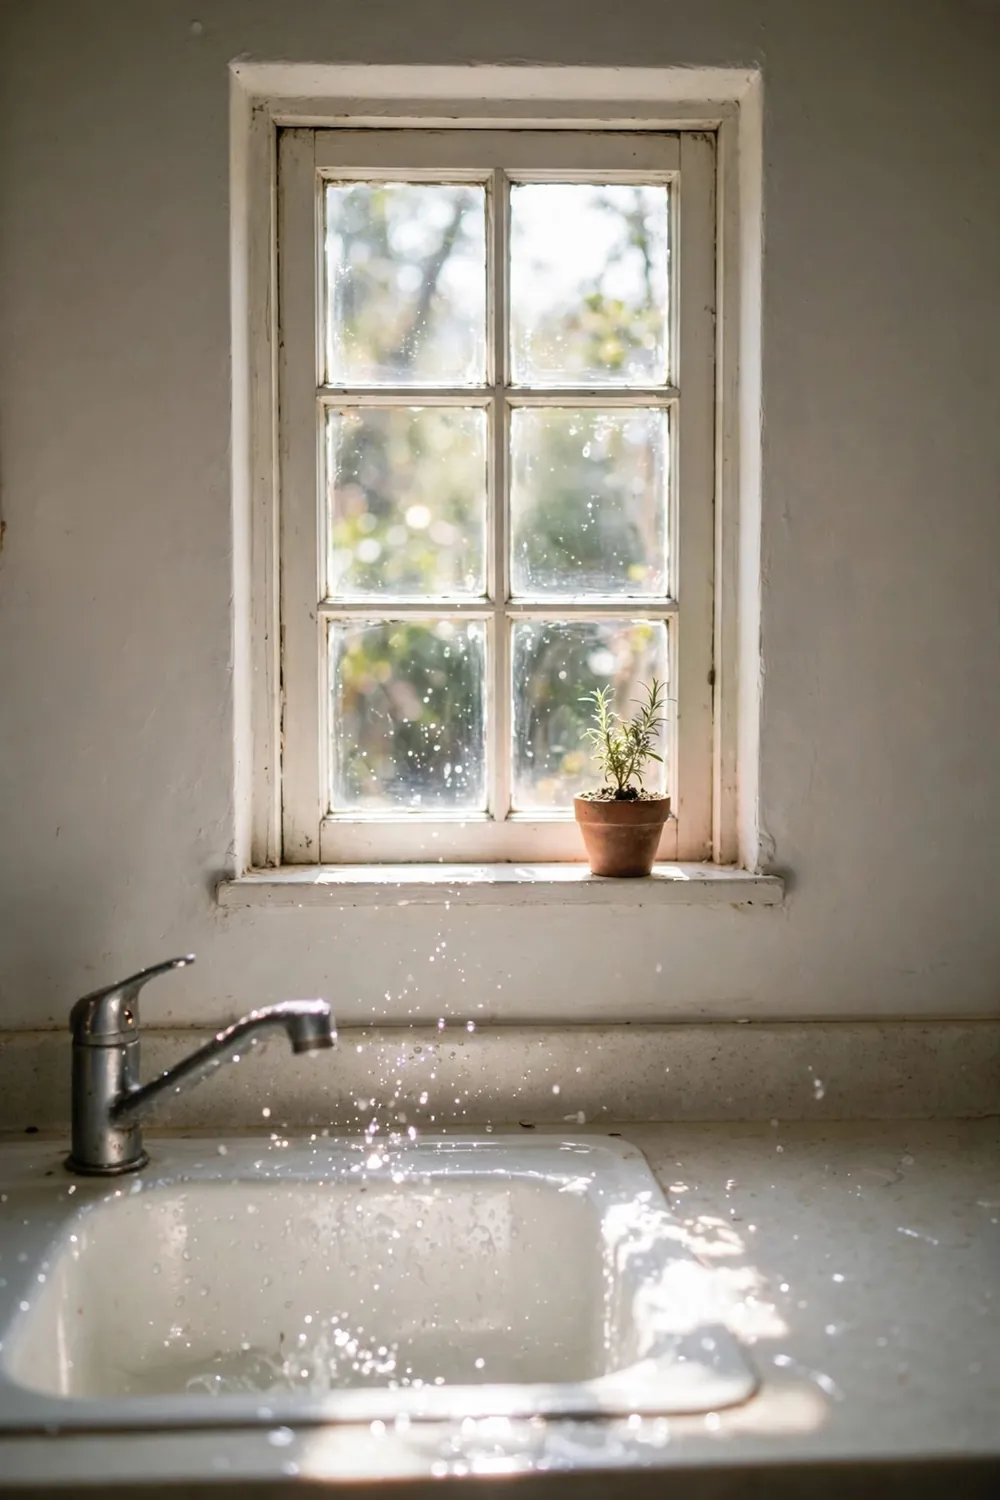
If your tiny kitchen has a window, it is the room’s treasure. Keep treatments minimal — a simple café curtain, a roller blind, or nothing — sill clear except one plant, and glass clean. Position your brightest moment here: the plant, the fruit bowl, the good view while you wash up.
Cozy & Functional Finishing Touches
Bright and organized can still feel like a laboratory. These last ideas add the warmth and the working details that make a tiny kitchen beloved.
9. Swap Hardware for Warm Metal
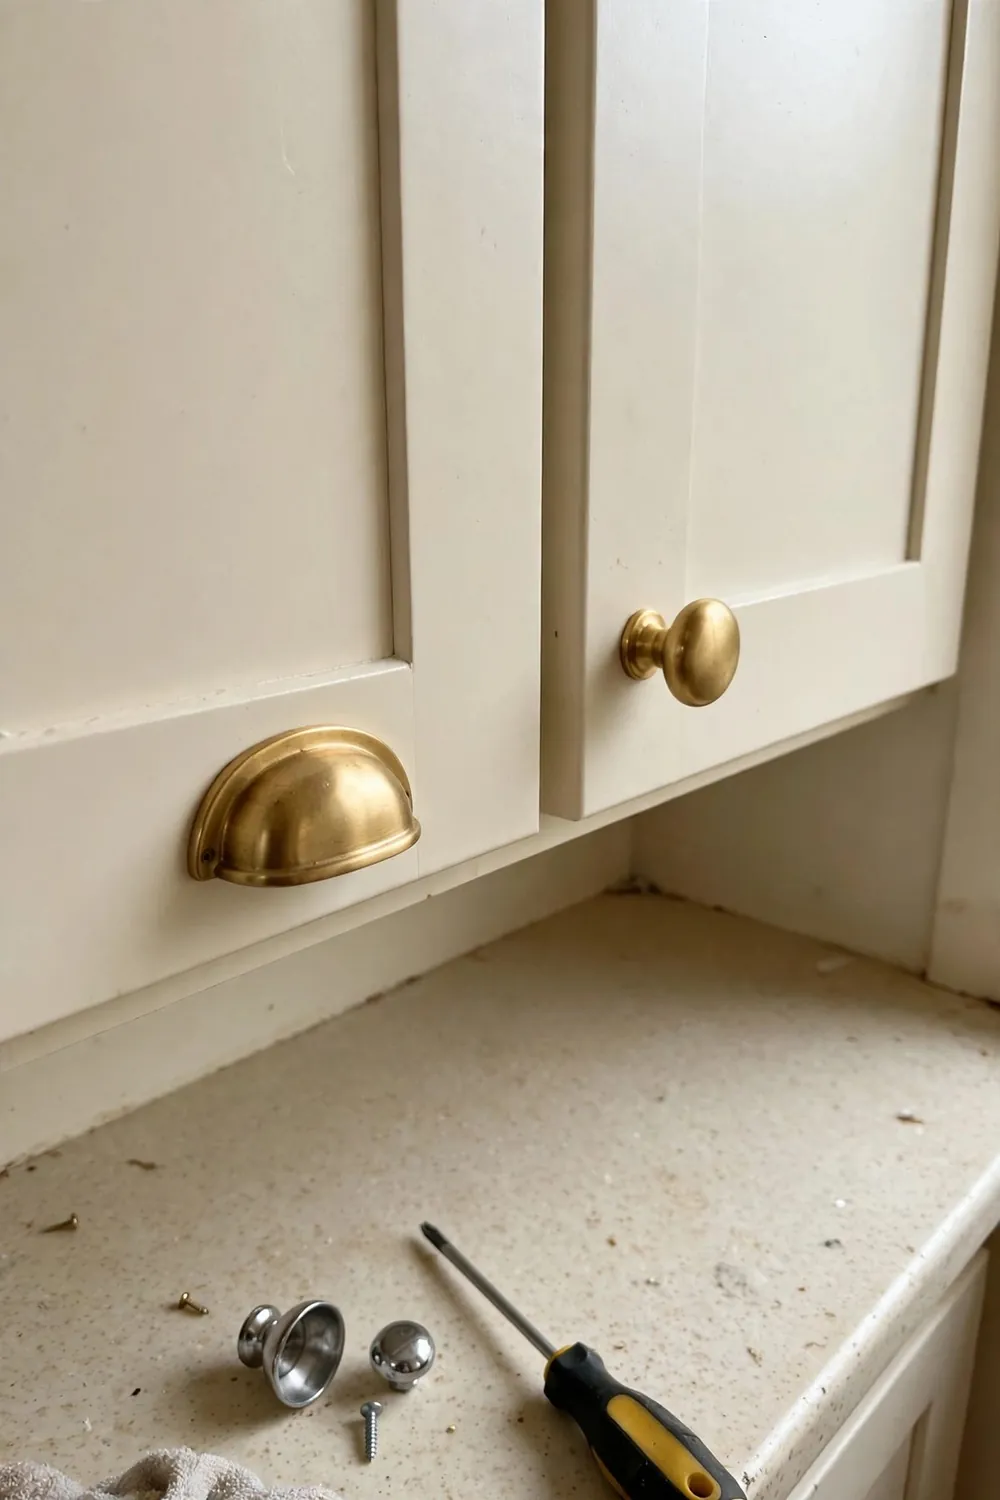
New handles in brass, bronze, or warm black are the jewelry of a small kitchen — cheap, fast, and disproportionately effective. Consistency is the rule: one finish on every pull, hinge, and tap if you can manage it. Measure your existing hole spacing before ordering; that one number prevents a weekend of grief.
10. Add Open Shelves (One Run, Styled Sparingly)
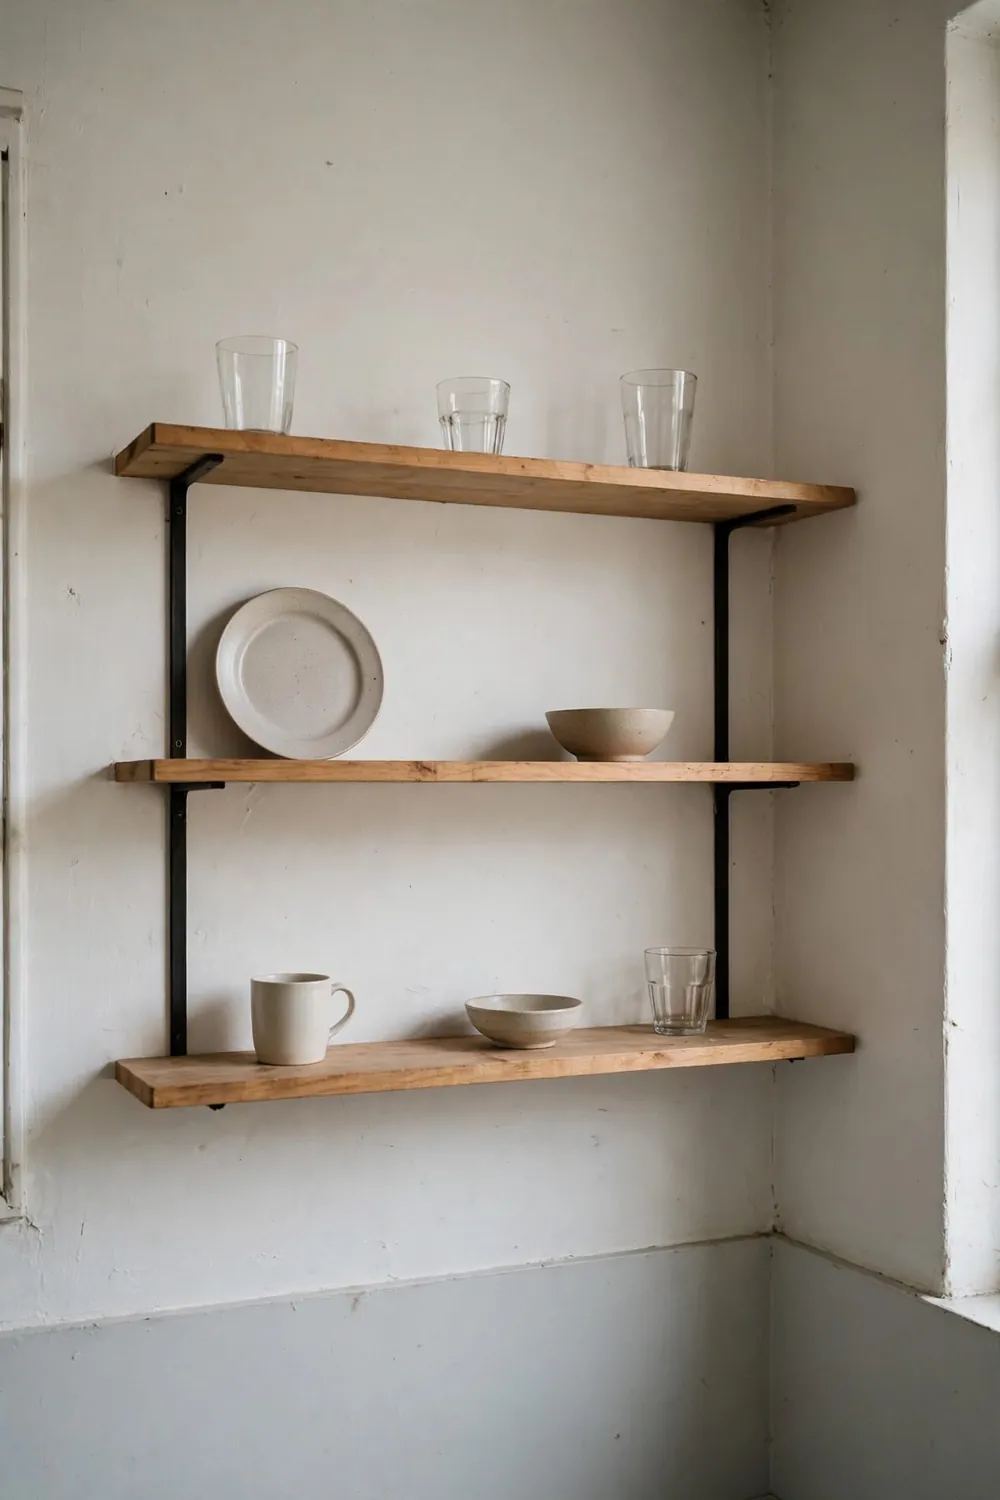
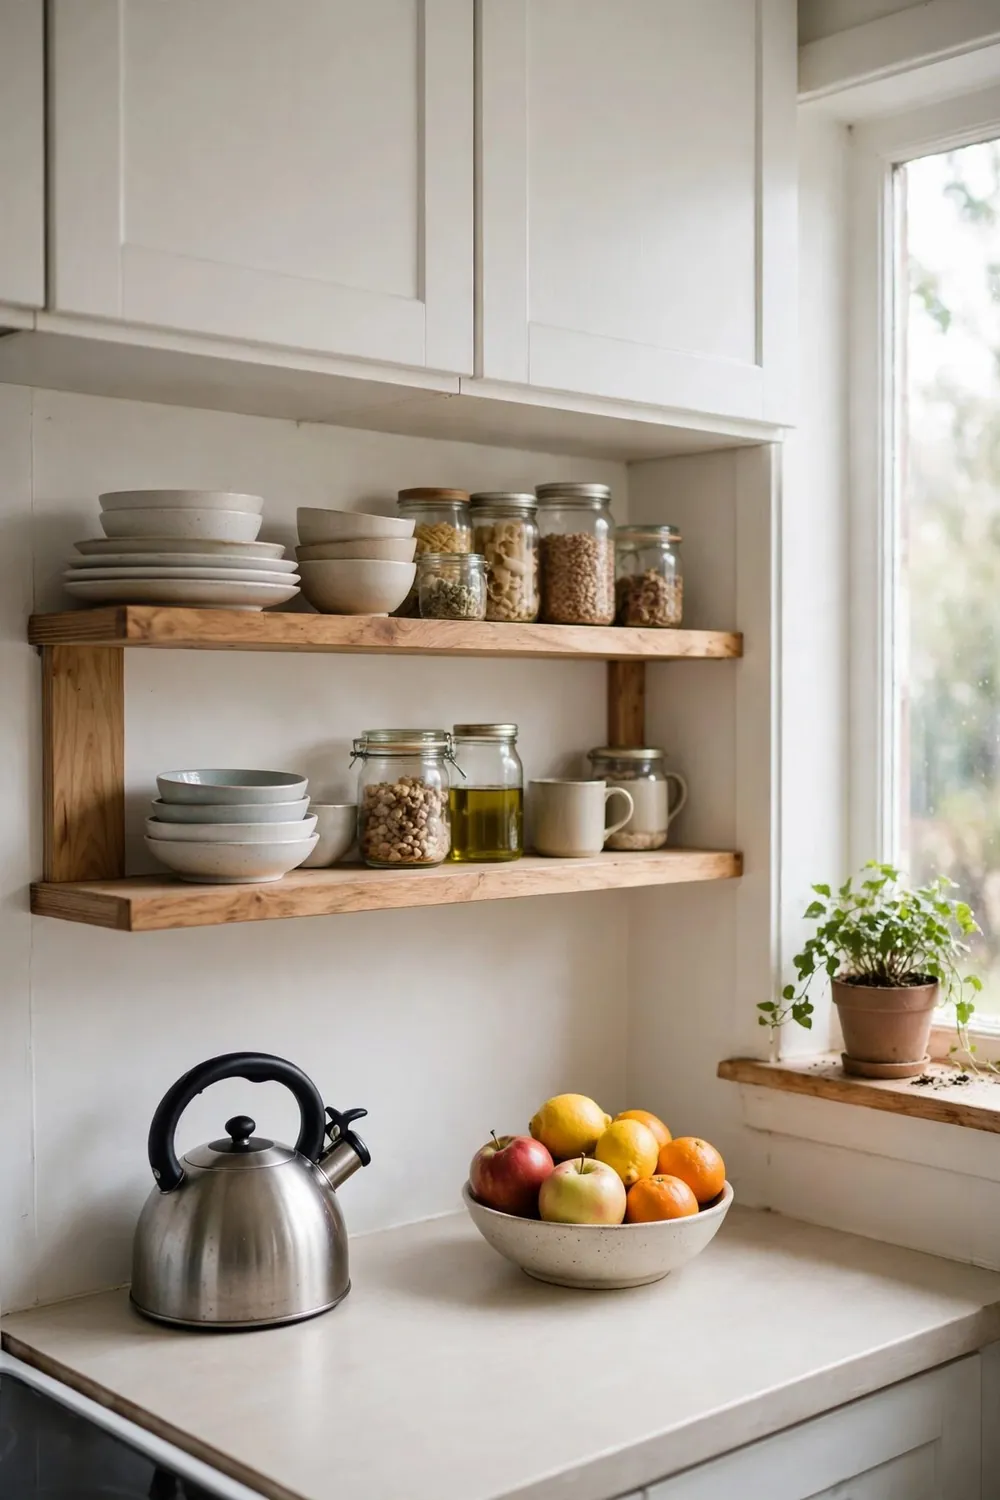
Replacing one upper cabinet with two open wooden shelves opens a tiny kitchen enormously — visually and literally. Style them with the everyday beautiful: stacked white dishes, glass jars, a plant, one leaning cookbook. If everything on the shelf is used weekly, it stays tidy by itself.
Not ready to remove a cabinet? A single shelf on any free wall gives the same airy note at 10% of the effort.
11. Put Down a Runner
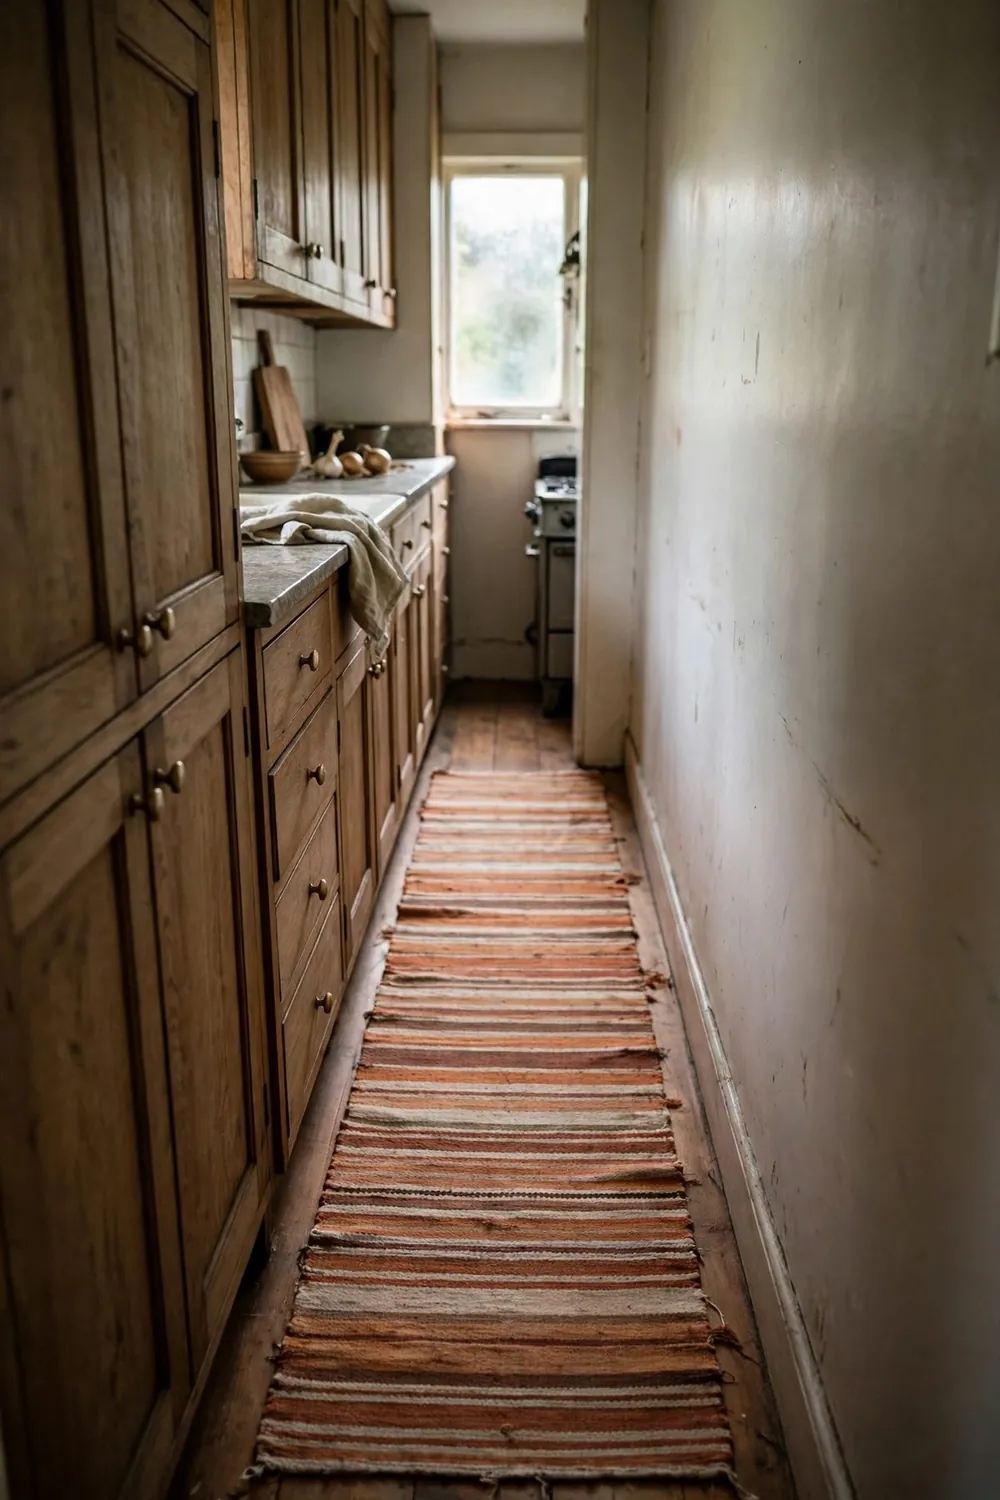
A washable runner in a warm pattern (faded Persian-style is the tiny kitchen classic) warms cold floors, catches the crumbs, and brings the “room” feeling into a workspace. Choose low-pile and machine-washable — kitchen rugs live hard lives and should be easy to forgive.
12. Create a Tiny Coffee or Tea Station
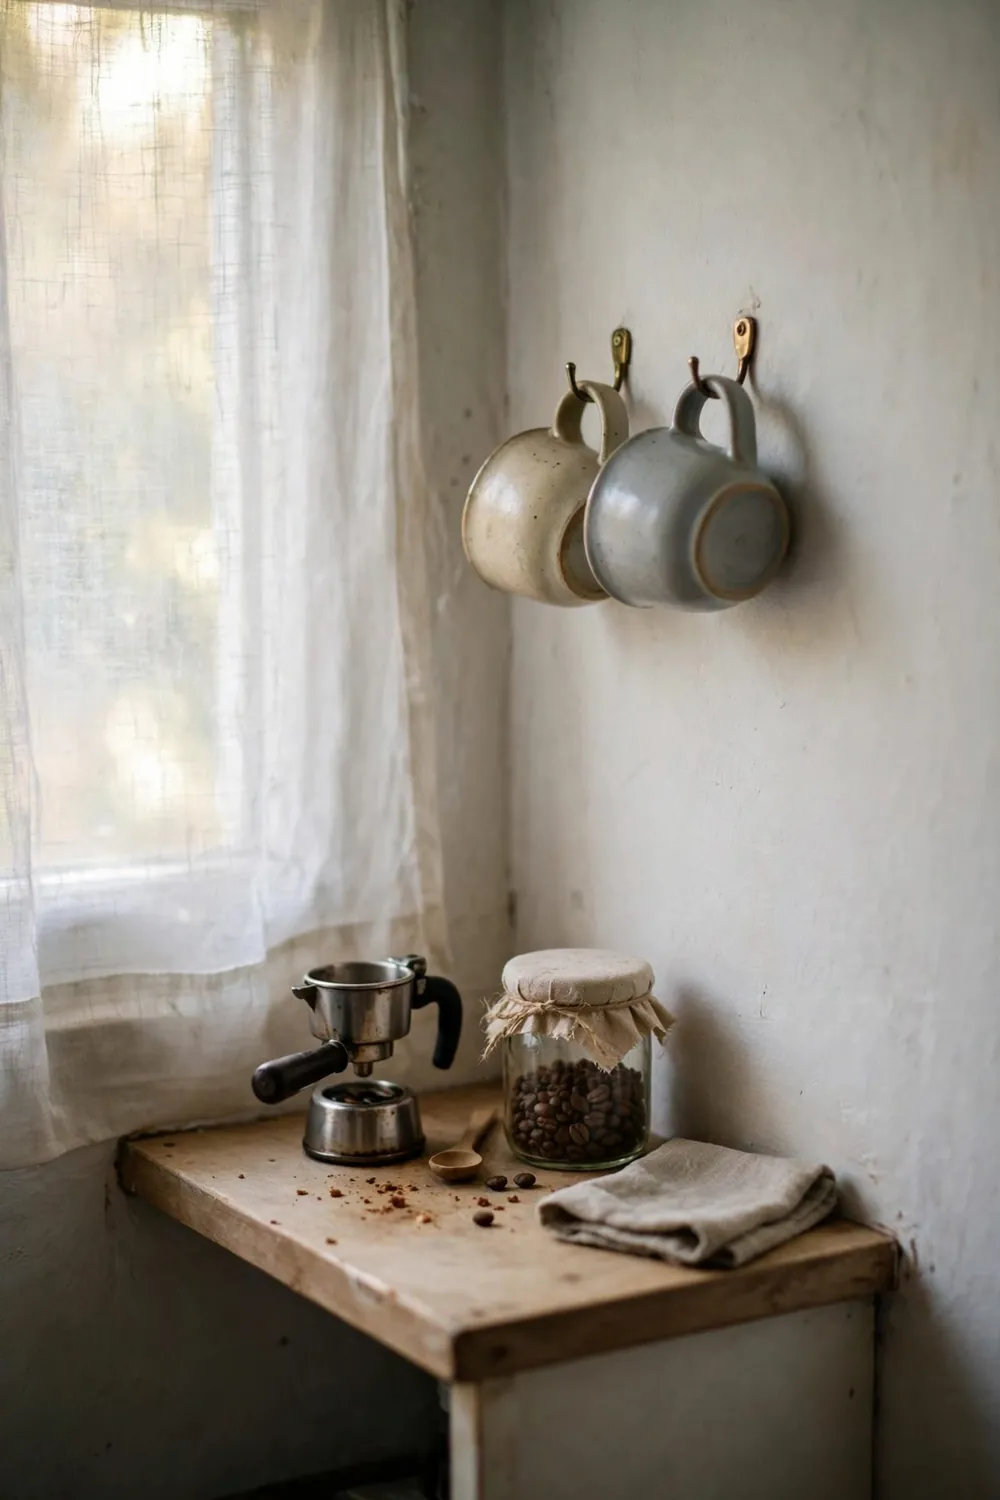
Gather the morning ritual onto one tray or shelf corner: maker, mugs on hooks, jar of beans or tea, the honey. A station keeps counters clearer everywhere else and makes the smallest kitchen feel like it has a café in it. Morning-you will be grateful daily.
13. Finish With Something Alive and Something Wooden
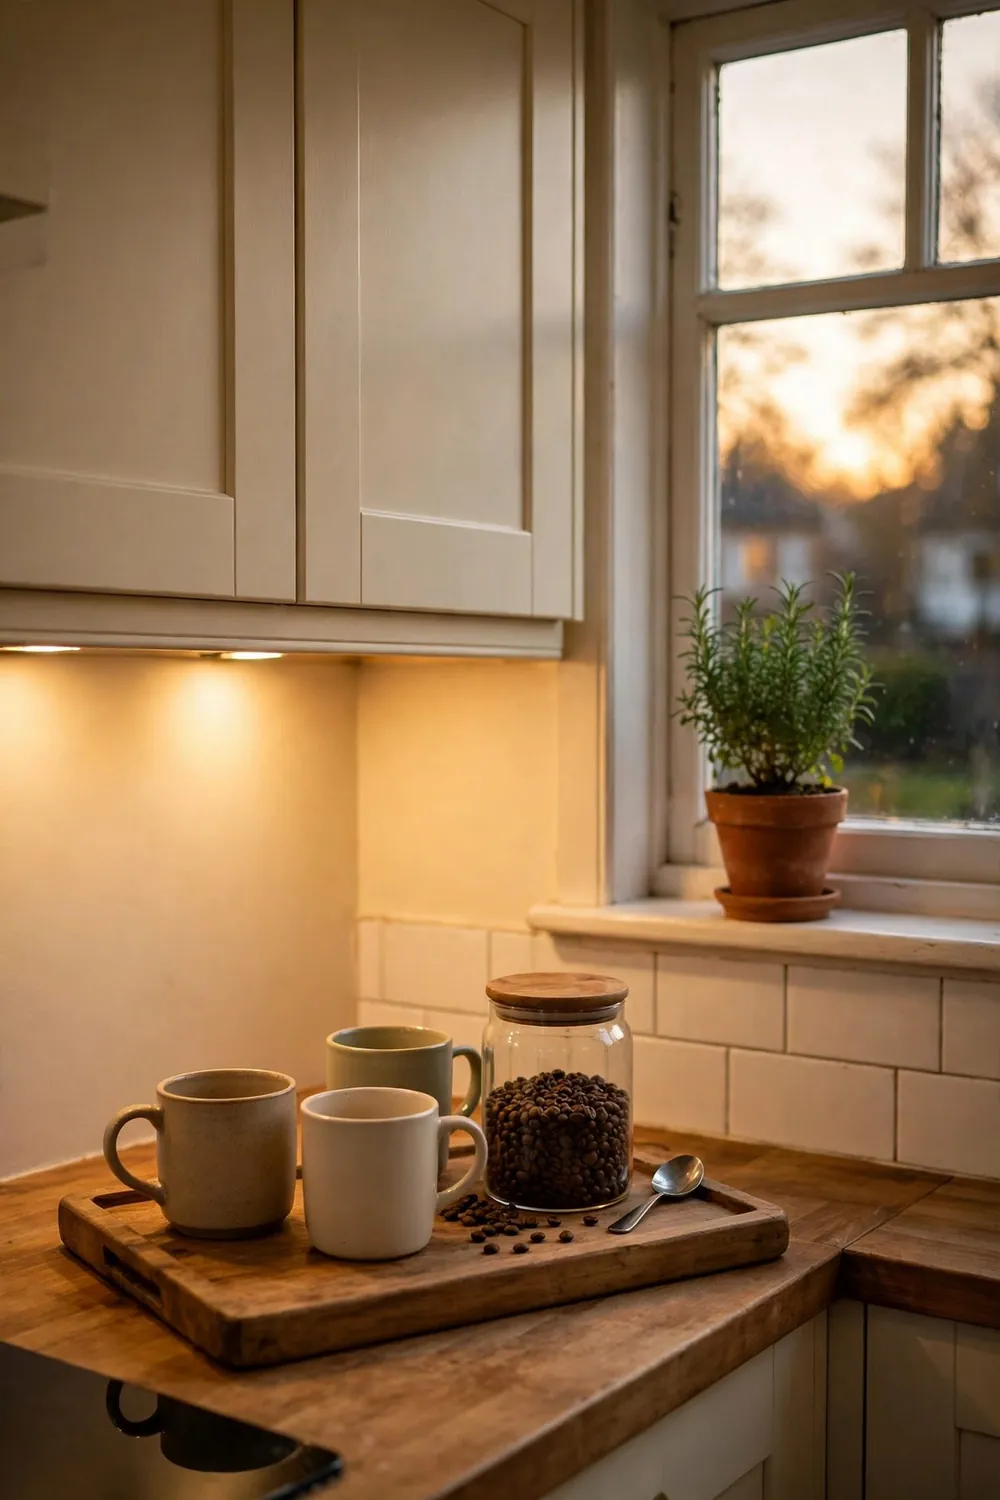
A herb pot on the sill (basil or mint, useful and green), a wooden board leaning at the backsplash, a bowl of lemons — the living and natural notes that stop a small white kitchen from feeling sterile. Two or three are enough; tiny kitchens reward restraint everywhere, including in charm.
More Tiny Kitchen Ideas That Earn Their Inch
Still collecting ideas? These final additions round out the list — each one tested against the same rule as everything above: it has to earn its place in a real home, on a real budget.
14. Add a Rolling Cart as a Movable Island
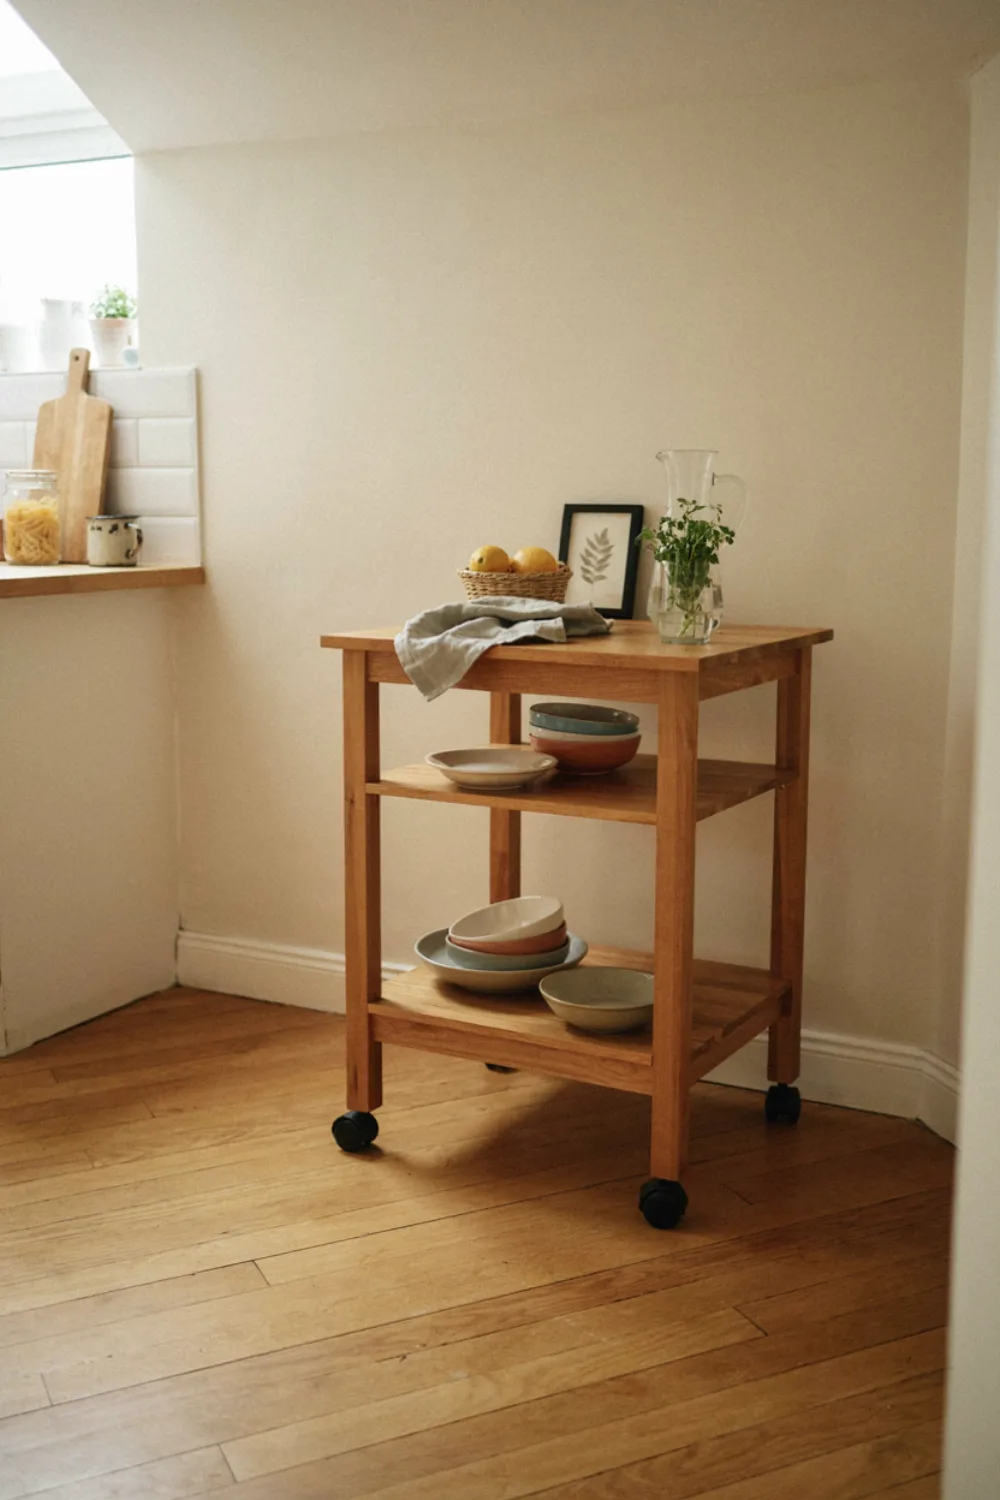
A slim rolling kitchen cart gives a tiny kitchen an island that parks against the wall: extra worktop for prep, shelves below for the mixer and bowls, and wheels to bring it where the cooking is happening.
Choose a cart with a solid wood or steel top that can take a chopping board and hot pans. Locking castors matter — a island that wanders mid-chop is nobody’s upgrade.
15. Use the Inside of Cabinet Doors
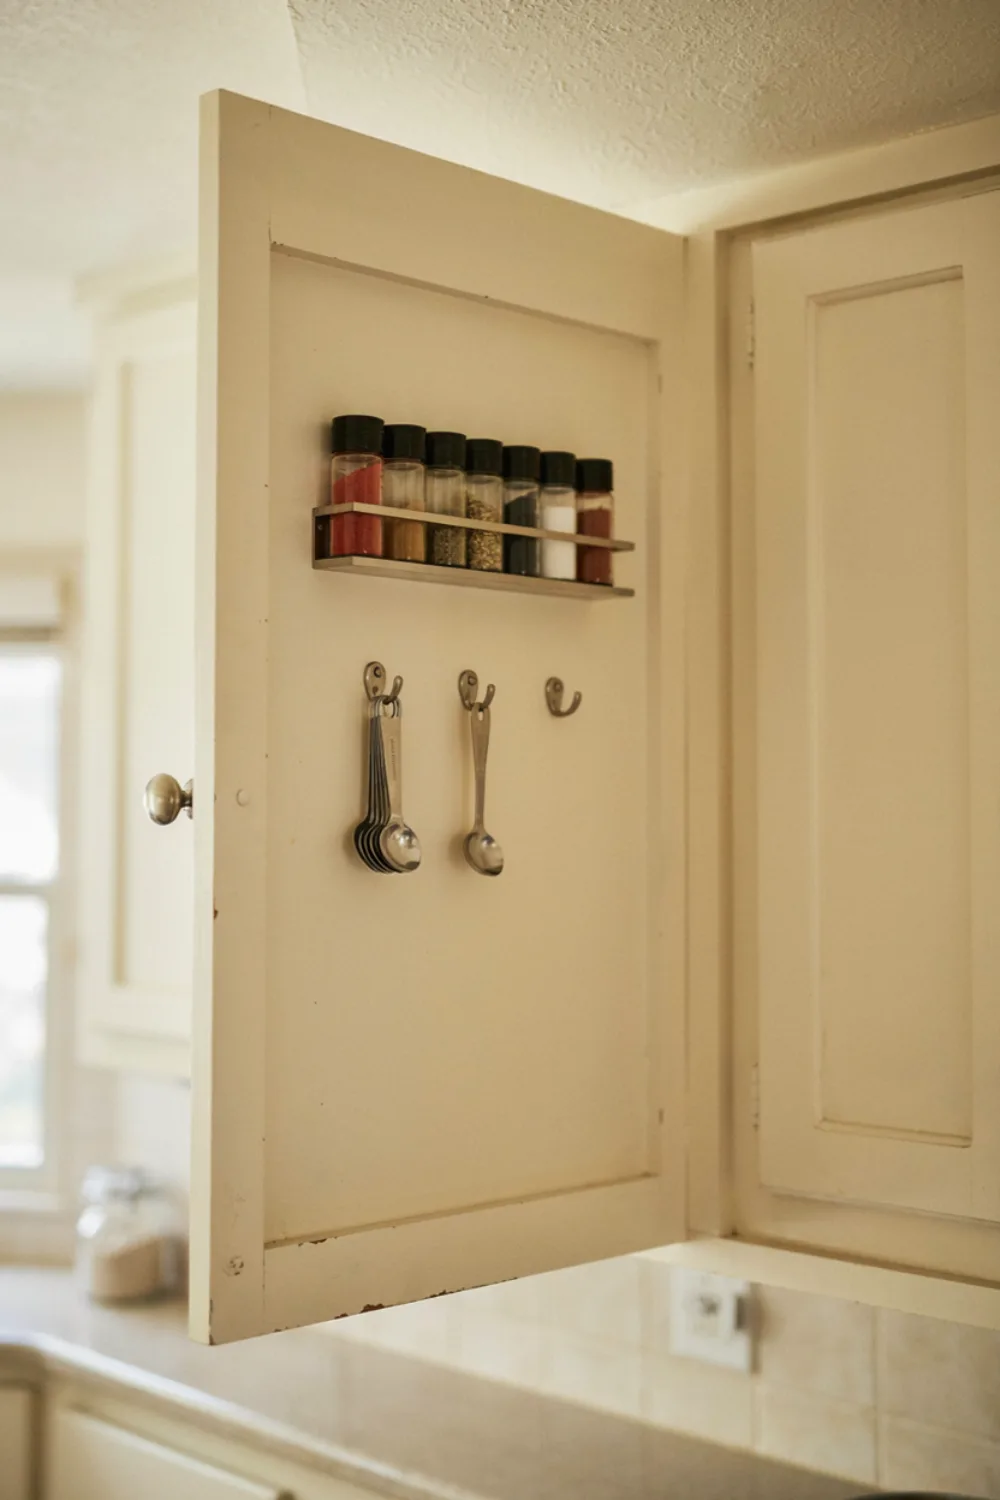
The inner faces of cabinet doors are free storage hiding in every tiny kitchen: slim racks for spice jars, hooks for measuring spoons, a mounted holder for cling film and foil. Shallow adhesive or over-door racks fit without touching the shelves inside.
Measure the clearance before you buy — the rack must miss the shelf edge when the door closes. This five-centimeter harvest, across four doors, can free an entire drawer.
16. Install Under-Cabinet Light Strips
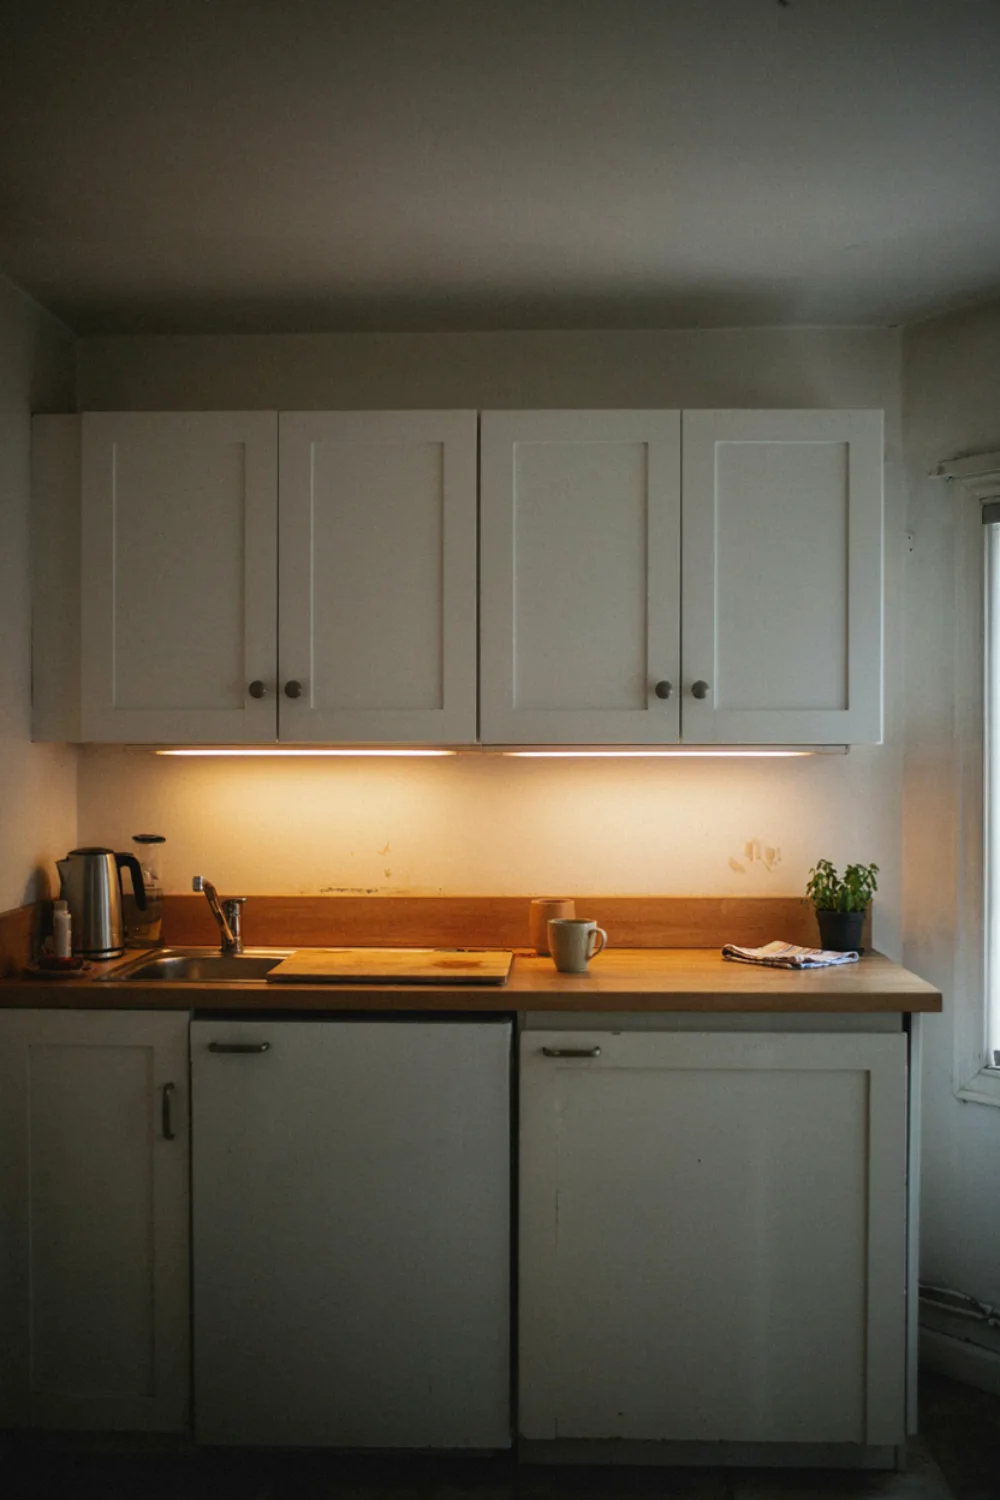
Stick-on LED strips under the wall cabinets light the worktop where you actually chop, kill the shadows your own body casts from the ceiling light, and make a small kitchen feel twice as finished in the evening.
Battery or USB strips keep it renter-friendly and wire-free. Warm white (2700–3000K) keeps food looking appetizing; cold blue light makes even good cooking look institutional.
17. Fold Down a Wall Table for Eating
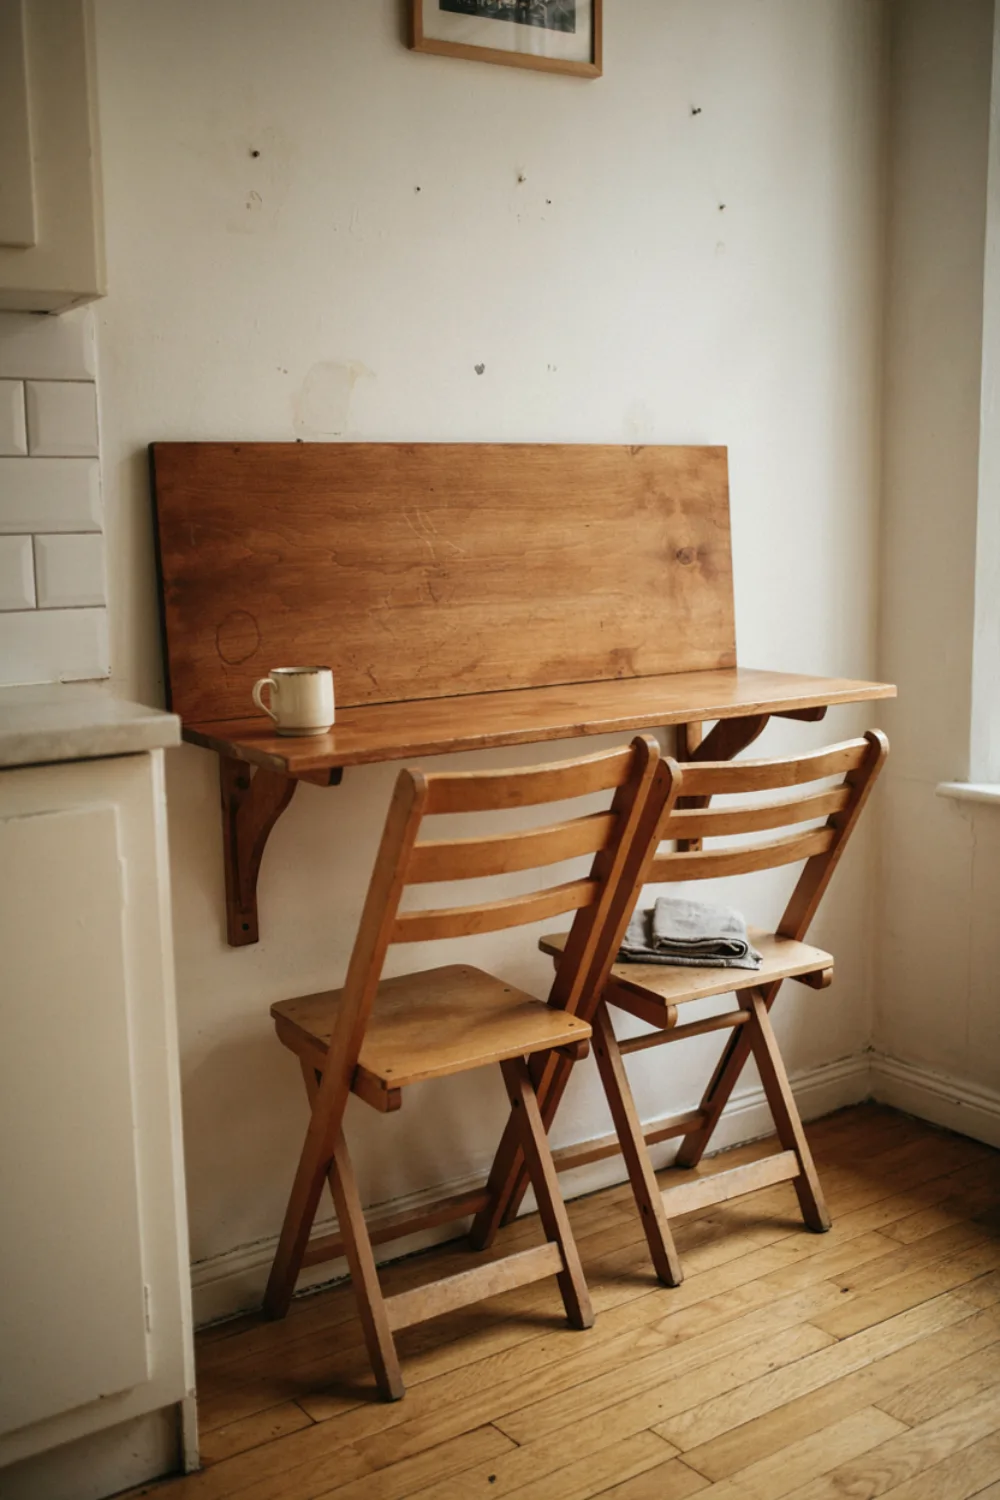
A wall-mounted drop-leaf table gives a tiny kitchen a breakfast spot for two that folds flat to 10 cm when the cooking needs the floor. Pair it with folding or stacking chairs that hang on hooks nearby.
Mount it at counter height and it moonlights as extra prep surface during big cooks. One piece of furniture, two jobs, zero permanent footprint — the tiny-kitchen ideal.
18. Hang Pots From a Wall or Ceiling Rail
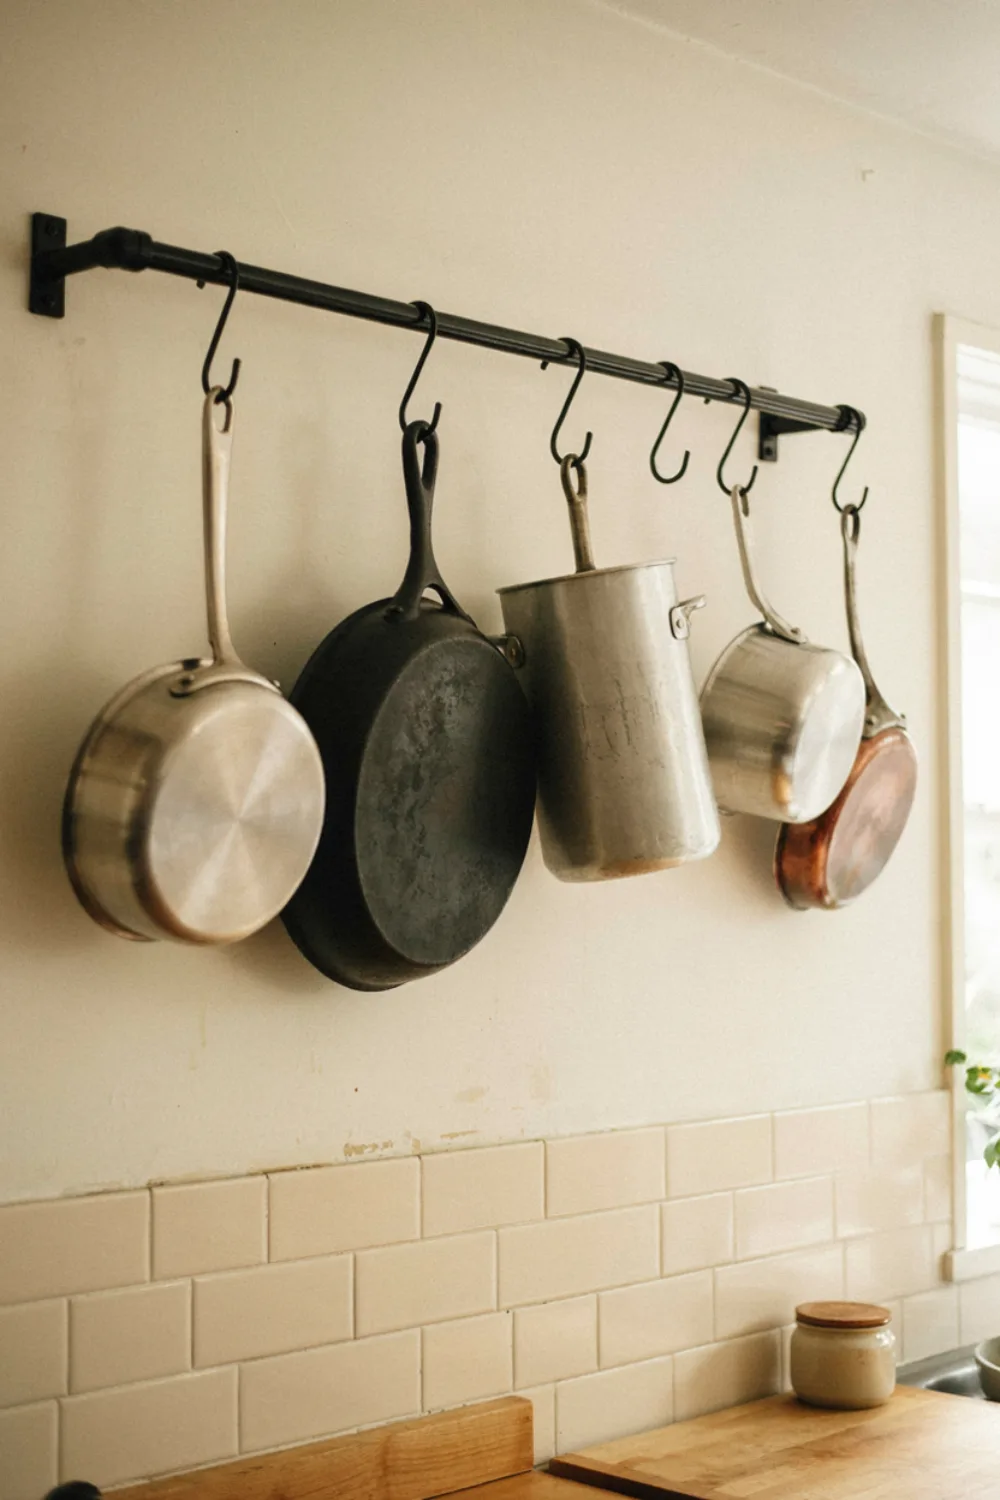
Pots are the bulkiest things in the cupboards. A rail with S-hooks on the wall — or a small ceiling rack where height allows — moves them into the open, where they become the kitchen’s honest, working decor.
Hang only what you use weekly; the rest can stay stored. Copper and steel glow beautifully, but even everyday pans look intentional on a rail when they are clean and evenly spaced.
19. Stack Clear Containers in the Fridge
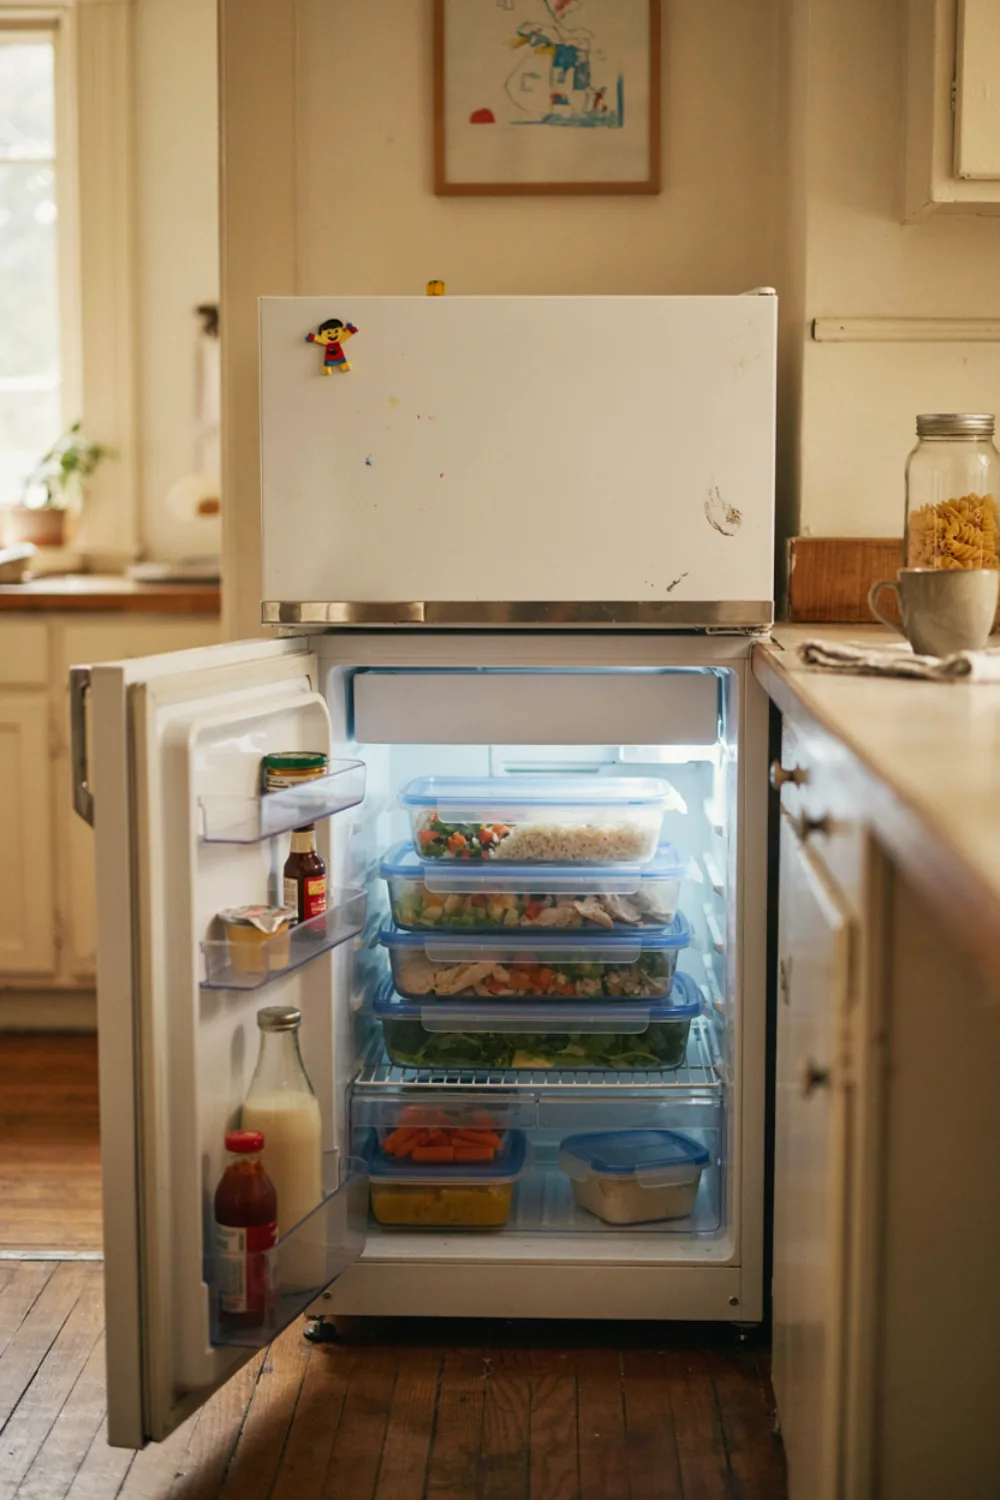
A tiny fridge works like a bigger one when everything is visible: clear stacking boxes for cheese, deli items, and leftovers stop the archaeology digs that waste food and patience. Square containers use the corners round ones waste.
Keep one small ‘eat first’ box at the front. The system pays for itself in uneaten, un-wasted food within about a month.
20. Warm the Work Zone With a Runner
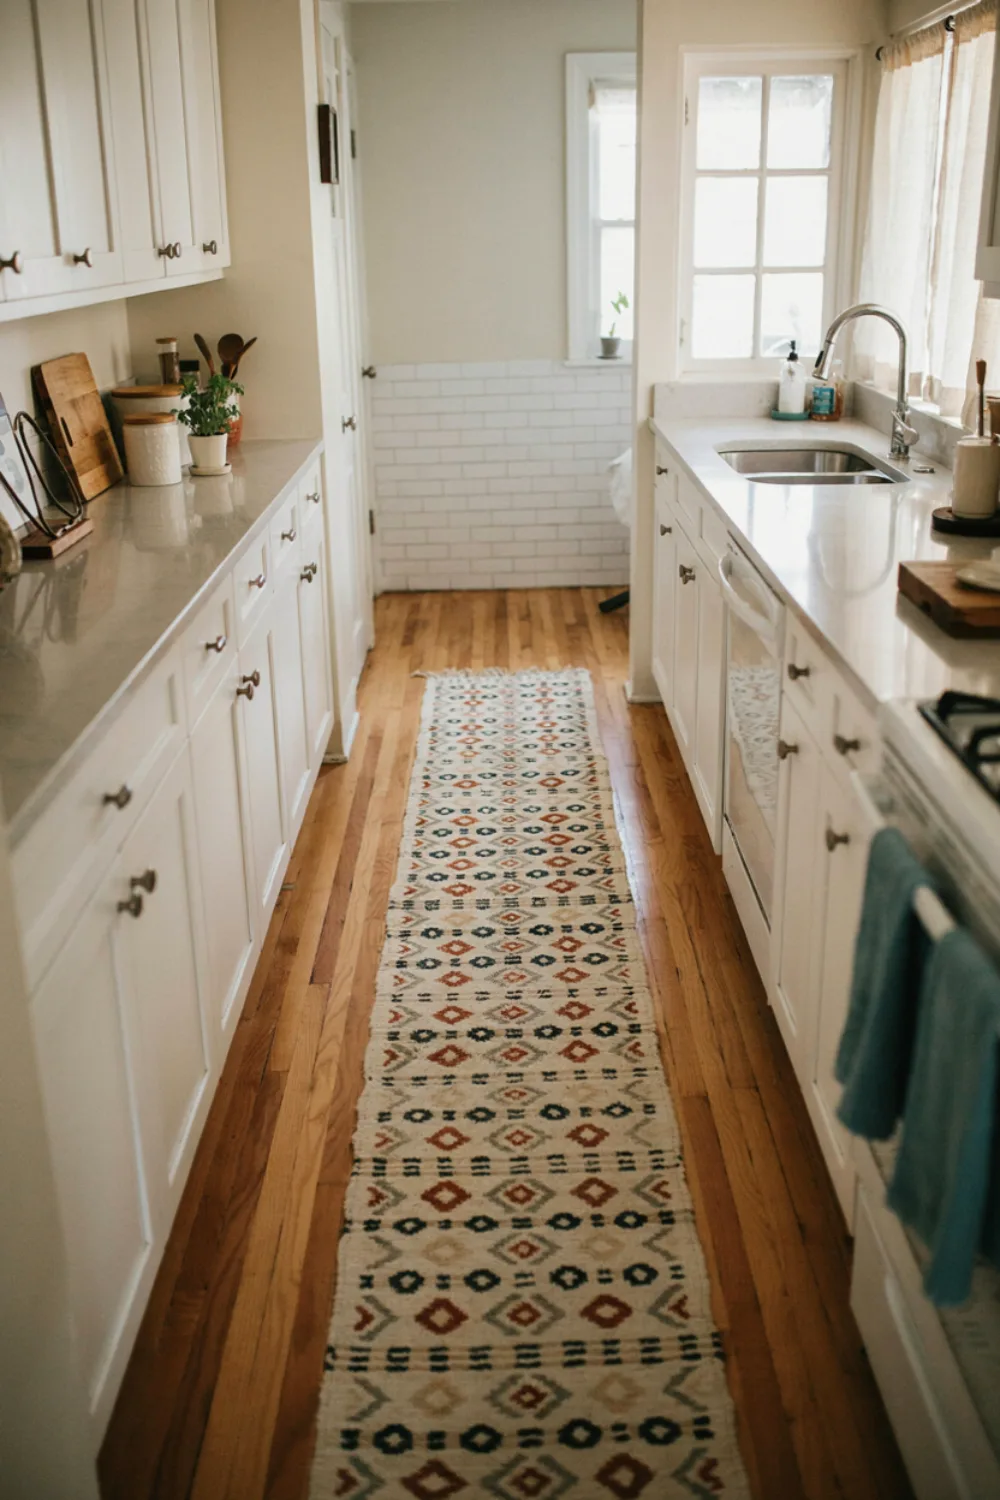
A washable runner along the counter run cushions your feet through long cooking sessions, catches the drips, and brings color and pattern into a small kitchen without touching a wall. Flat-weave, dark-patterned designs hide a multitude of kitchen evidence.
Washable is the whole point — runners live where the splashes land. Buy two if you love the pattern: one in the wash, one on the floor, and the kitchen never looks undressed.
21. Keep One Beautiful Bowl as the Only Decor
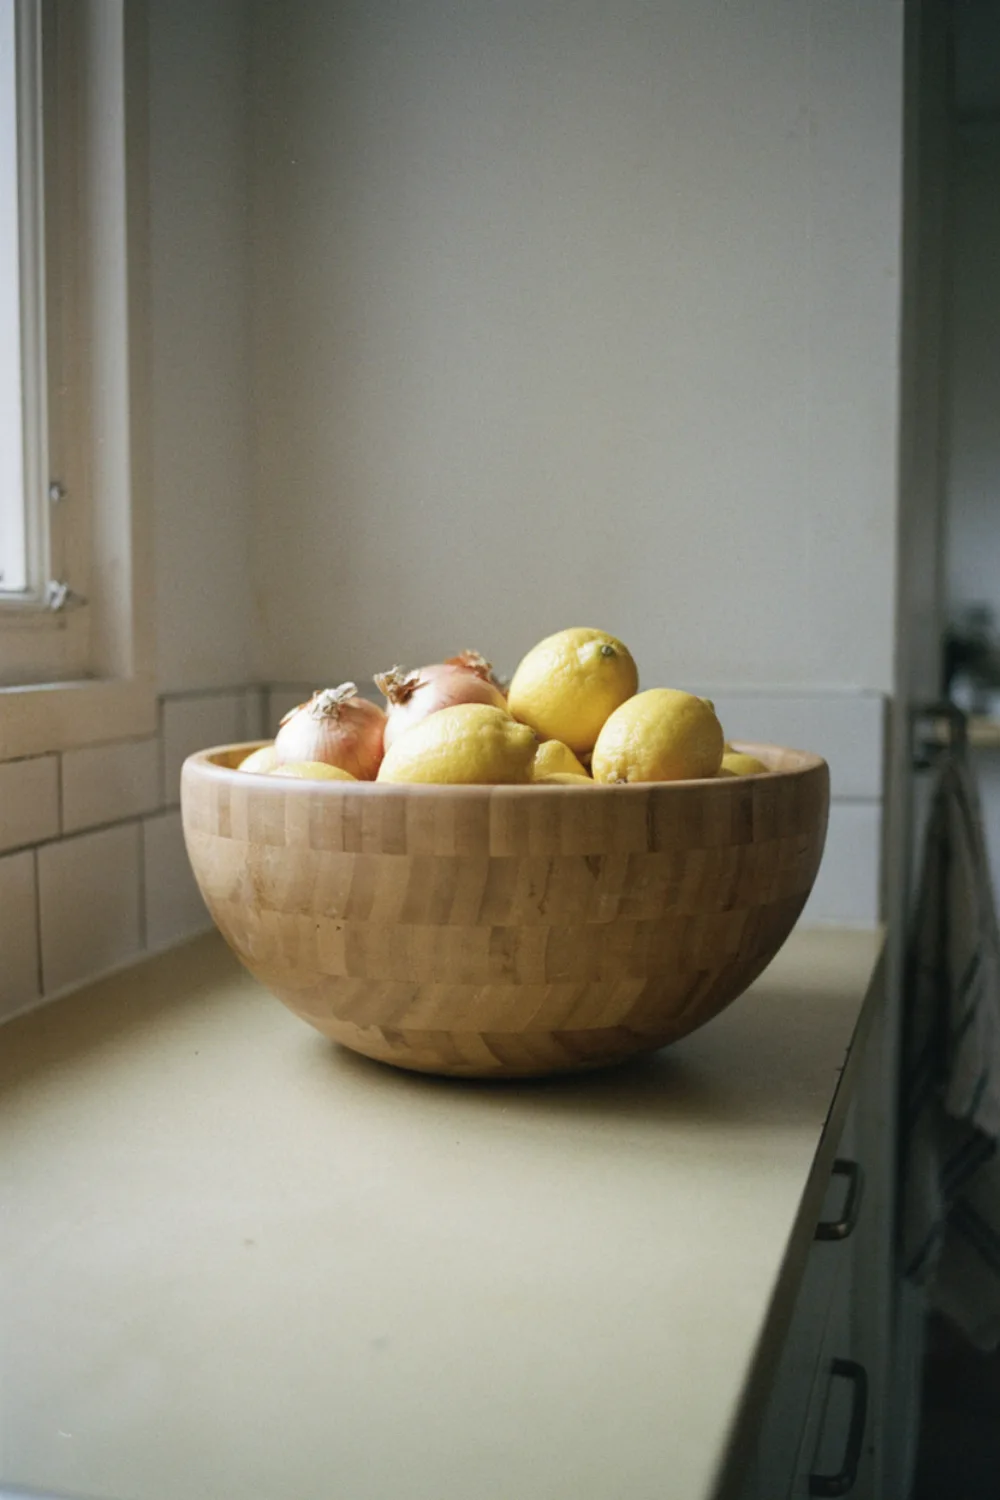
In a tiny kitchen, one generous beautiful bowl — wood, ceramic, or stone-look — holding fruit or onions is all the counter decor the space can carry, and it is enough. It earns its place by working daily and looking like a still life while doing it.
Everything else on the counter must be a tool you use daily. That single rule, held kindly but firmly, is what keeps tiny kitchens calm instead of crowded.
Tiny Kitchen Layouts: What Works Where
Every small kitchen has a shape, and each shape has a trick.
The galley (two parallel runs). Your superpower is efficiency — everything is two steps away. Keep both counters equally disciplined, put the rail on the wall you face least while cooking (so your back is not brushing utensils), and let the far window or a bright end wall pull the eye through the corridor. A runner down the middle is the galley’s best friend: it makes the corridor feel like a room.
The L-shaped kitchen. The corner is your challenge and your gift. Corners swallow items — solve with a lazy Susan or pull-out tray — but the L gives you a natural work triangle and usually one stretch of counter that can host the coffee station or a tiny breakfast spot for one stool. Put the open shelves on the shorter arm where they will not crowd the main prep zone.
The one-wall kitchen (studios and small flats). Everything hangs on discipline and vertical thinking: the tallest storage you can reach safely, the rail and magnetic strip doing real work, and the counter cleared like a runway because it is also your only landing strip. A folding wall-mounted table nearby rescues both prep space and dining. Style matters double here because this kitchen is also your living room’s view — the cozy touches are not extras, they are the decor.
The U-shaped kitchen. The most storage-rich tiny layout — and the easiest to overfill. Keep uppers light or partially open so the U does not close over you, light the counters generously (three walls of shadow is the U’s weakness), and resist the third counter becoming the everything-landing-zone. A U kept clear is the tiny kitchen that cooks like a big one.
The Tiny Pantry & Fridge: A System That Stays Tidy
Cabinets are only half the storage story. The pantry corner and the fridge decide whether a tiny kitchen’s system survives real shopping habits.
Decant the dry goods that earn it. Flour, rice, pasta, oats, and sugar — the things you buy in bags that slump and spill — move into clear, stackable jars at eye level where you can see quantities at a glance. Everything else can stay in its packaging in a basket or bin grouped by job (baking, breakfasts, snacks). The system rule: if you cannot see it, you will buy it twice, and tiny kitchens have no room for twins.
Zone the fridge like the cabinets. Top shelf: leftovers and ready foods at eye level so they get eaten, not forgotten. Door: condiments only — the door is the warmest spot, so milk and eggs live inside. One small bin labeled, in spirit if not in tape, “use this week” for the perishables racing their dates. A five-minute Friday fridge clear-out keeps the whole system honest and the tiny fridge feeling twice its size.
The shopping list lives in the kitchen. A small notebook or board on the fridge or inside a cabinet door, updated the moment something runs out — not from memory at the store. In a tiny kitchen, one forgotten ingredient means one extra trip, and one impulse haul means nowhere to put it. The list is a storage tool as much as a shopping one.
Small appliances earn their footprint quarterly. The tiny kitchen’s periodic question: did this earn its counter or cabinet space this season? The bread maker from 2022 can go to storage (or a new home) without ceremony. Space given back to the daily work of cooking is the whole makeover, repeated forever.
Cooking in a Tiny Kitchen: Workflow That Fits
A beautiful tiny kitchen that fights you at dinner is a failed makeover. Set the workflow once and the room works as good as it looks.
Zone the counter you have. Even 24 inches divides well: a landing strip beside the stove for ingredients, the board’s permanent home in the middle, and the serving spot nearest the table. Things live where they are used — oils and spices within arm’s reach of the hob (a small tray corrals them), knives on the strip beside the board, the bin or a scrap bowl under the board’s edge while you chop.
Cook in the clean-as-you-go rhythm. Tiny kitchens forgive nothing mid-recipe, so the rhythm is the recipe: rinse the board while the onions soften, load the dishwasher (or the sink’s hot water) as each tool retires, wipe the splash zone while the pasta water returns to the boil. It sounds like discipline; within a week it feels like the kitchen is helping.
One-pot and sheet-pan suppers are the tiny kitchen’s cuisine. Meals built in a single vessel respect the space, cut the washing to one honest pile, and — not coincidentally — are the coziest food there is. Let your tiny kitchen’s limits choose your menu sometimes; limitation is a style of cooking with a very good reputation.
How to Recreate the Makeover in Order
Step 1 — The great clear (free, one morning). Counters to three things, cabinets organized with risers and jars, walls claimed with a rail. Live and cook in it for a week — function first.
Step 2 — Light (one afternoon). Under-cabinet strips in, window freed, bulbs checked. Judge at dusk — that is your kitchen’s hardest hour.
Step 3 — Color (one weekend, if painting). Cabinets light and warm, backsplash lightened. Take your time with prep; small kitchens show every shortcut.
Step 4 — Hardware and shelves (one afternoon). Handles swapped, one shelf run styled with the everyday beautiful.
Step 5 — Cozy (one hour). Runner down, coffee station set, herb on the sill, board at the backsplash. Then cook something lovely in it.
Going deeper: respect the cure times. A tiny kitchen makeover fails quietly when pieces are loaded too soon. Cabinet paint needs 48 hours before doors hang and a full week before anything leans against it — paint that feels dry is still soft underneath, and a bin edge pressed into it on day two leaves a permanent mark. Peel-and-stick tiles want 24 hours of undisturbed adhesion, and new silicone wants a dry day before the sink splashes it. Plan the order around these waits: paint first and let the curing happen while you organize cabinets and set up systems elsewhere, then hang doors, then style. It feels slower and finishes faster, because nothing needs redoing. The makeover that lasts is the one whose materials were given the hours they asked for — and in a rented kitchen, patience is also what lets everything come off cleanly later.
Budget Guide: Where to Save, Where to Spend
Save on: organization (risers, jars, and rails are cheap everywhere), peel-and-stick backsplash, paint (mid-range cabinet paint plus good primer beats premium paint over poor prep), and hardware bought as a multipack. Most of this makeover is labor, not materials — the realistic total for everything except painting is $100–$200.
Spend a little more on: cabinet paint and primer if you paint (the kitchen is the highest-wear room in the house; quality paint is the difference between a five-year finish and a one-year peel), and under-cabinet lights with a decent color rating so food looks appetizing, not grey.
Mistakes to Avoid
Starting with decor. A styled but dysfunctional tiny kitchen frustrates daily. Clear, organize, and light first — the pretty steps come last and take an hour.
Dark colors “for drama.” In a tiny, often window-poor kitchen, dark cabinets eat the light and the space. If you love deep colors, keep them below the counter in a two-tone scheme and let the uppers stay bright.
Filling open shelves with everything. Open shelves display; they do not store. The overflow still needs a cabinet home, or the shelves become the mess you moved, now at eye level.
Skipping paint prep. Grease is invisible and everywhere in kitchens. Degrease, sand, prime — or watch your beautiful paint job fail by spring. The boring steps are the makeover.
Forgetting task light. Pretty ambient glow is lovely, but chopping happens at counters. Under-cabinet light is a safety feature dressed as a style feature.
Your Tiny Kitchen Checklist
- Counters cleared to three daily things
- Cabinets organized with risers, jars, and zones
- Rail, pegs, or magnetic strip using the wall
- Forgotten inches claimed (doors, fridge side, gaps)
- Cabinets light and warm (or two-tone)
- Under-cabinet lighting installed
- Backsplash lightened
- Window treatment minimal, sill = one plant
- Hardware in one warm finish, hole spacing measured
- One styled shelf run with everyday pieces
- Washable runner on the floor
- Coffee/tea station gathered on one tray
- Something alive (herb) and something wooden (board)
Frequently Asked Questions
What is the cheapest tiny kitchen makeover that actually works?
The great clear plus under-cabinet lighting plus one styled shelf. Roughly $40–$80, one weekend, and the kitchen feels twice as big and twice as kind. Paint can wait; function and light cannot.
Should tiny kitchens have open shelves or cabinets?
Both, in balance. Mostly cabinets (tiny kitchens need hidden storage), with one short run of open shelves for the everyday beautiful pieces. All-open storage in a tiny kitchen means everything you own is on display, dust included.
What cabinet color makes a small kitchen look biggest?
Warm white and cream reflect the most light while staying friendly. Soft sage is the beloved alternative — light enough to brighten, interesting enough to feel designed. Avoid stark blue-white, which can make a small kitchen feel chilly.
How do I add storage without making the kitchen feel smaller?
Go vertical and go hidden: wall rails, door interiors, slim rolling carts, and cabinet risers add capacity without adding visual bulk. Open, light-colored additions (a pale wood shelf) add storage while keeping the airy feeling.
Can I do this makeover as a renter?
Almost all of it: organization, battery under-cabinet lights, peel-and-stick backsplash, runners, stations, shelves on existing holes or minimal screws (check your lease), and hardware swaps (keep the originals in a labeled bag). Painting cabinets is the one step that usually needs permission — the rest is fully portable.
Final Thoughts
A last word of encouragement: nobody’s tiny kitchen arrives perfect, and nobody’s stays that way without the small daily habits this guide is built on. But a tiny kitchen that has been cleared, lit, and loved has a quality big kitchens struggle to buy — everything within reach, nothing wasted, and a cook who knows exactly where everything lives. That is not a compromise kitchen. That is a professional’s kitchen, at home scale.
Save this for later
Save this before your next kitchen frustration — the order matters more than the budget. Clear, light, color, cozy: a tiny kitchen done in that sequence becomes the hardest-working and, often, the best-loved room in the house.
Keep reading: 27 Bathroom Oasis Ideas to Create a Spa-Like Retreat at Home for the other small, hard-working room, and 20 Wood Wall Decor Ideas That Add Instant Warmth for the shelf and rail projects that make tiny kitchens sing.



One Comment